Classic Apple Pie
The classic apple pie you've been looking for.
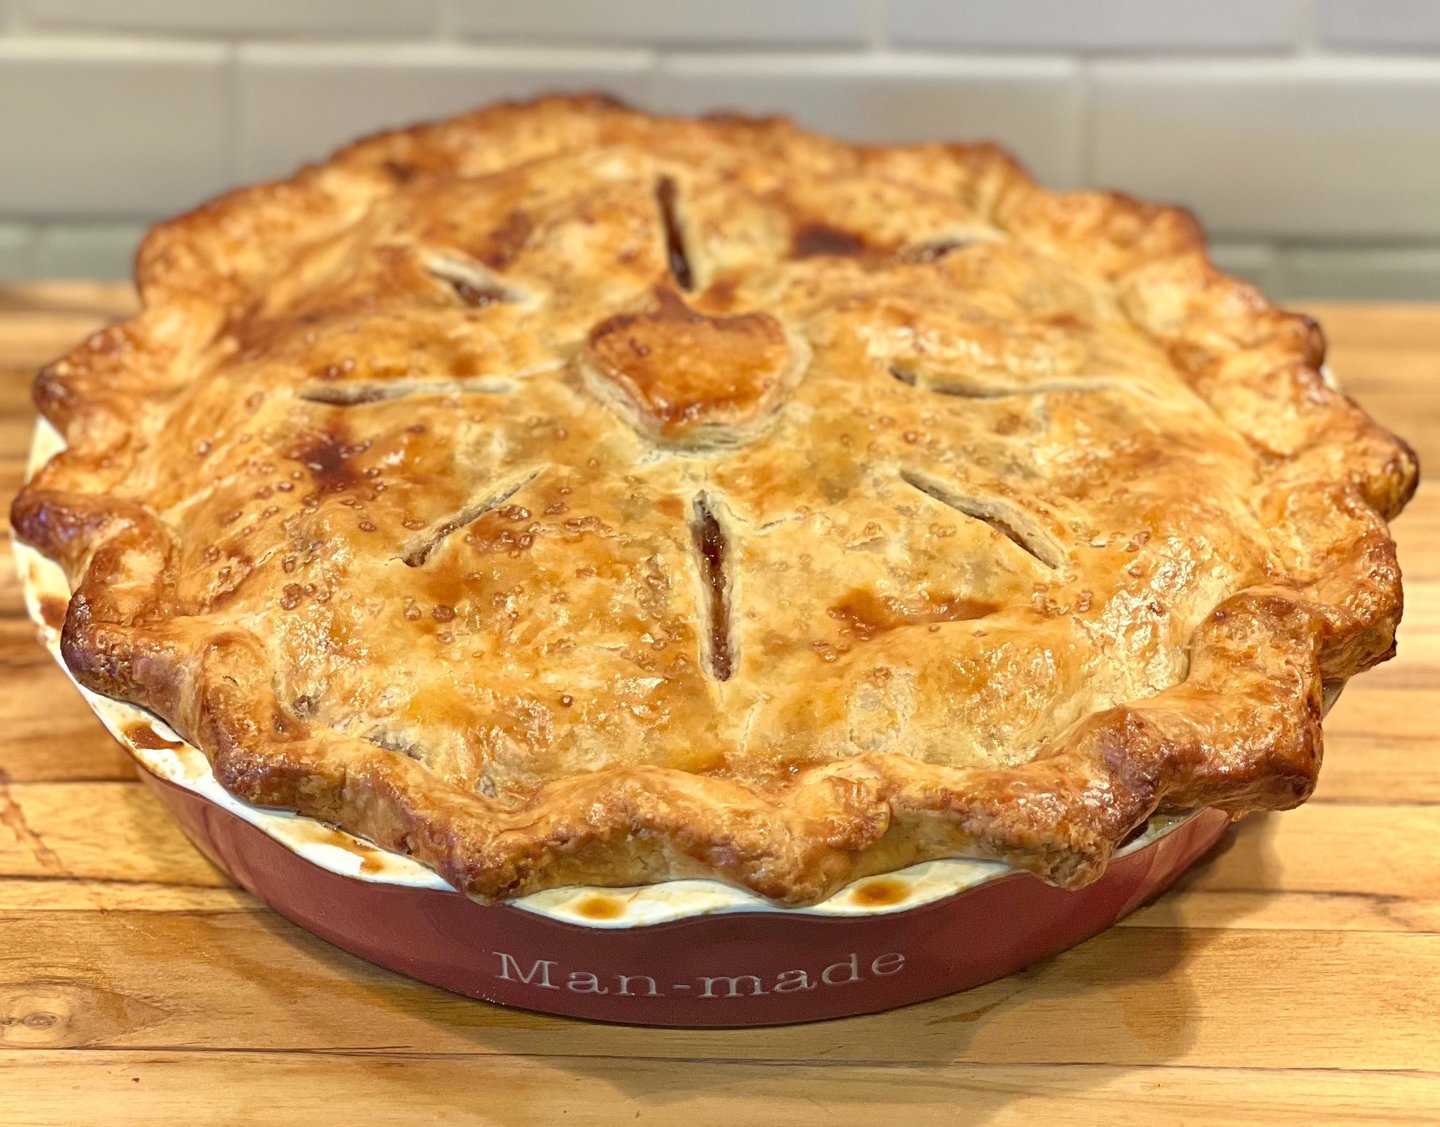
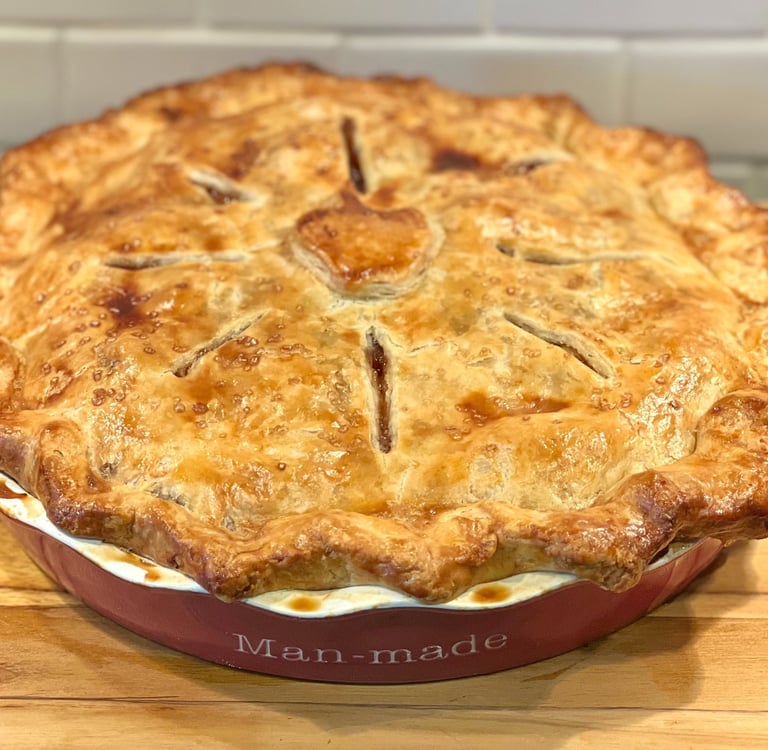
Sweet Honeycrisp and tart Granny Smith apples are layered with warm cinnamon, nutmeg, and just a hint of cardamom inside a flaky double crust. Instead of precooking the filling, the apples are rested to release their natural juices, which are reduced into a rich apple glaze and spooned back between the layers as the pie is assembled. The result is bold apple flavor, tender slices that hold their shape, and a filling that slices beautifully without being runny. Finished with a scoop of vanilla ice cream, this is the classic apple pie you'll come back to year after year.

Want me to make this one for you?
If you're in Maryland, you can order this pie directly from Man-Made Pies.
Yield: 1 (9-inch) pie, 8 servings
Prep Time: 45 minutes
Bake Time: 55 to 65 minutes
Cooling Time: At least 4 hours
Ingredients
Double Crust
1 double-crust 9-inch pie crust (or use my Signature 3:2:1 Butter-Lard Pie Crust Recipe or my All-Butter Pie Crust Recipe)
Egg Wash
1 large egg
1 tablespoon milk
Optional:
Turbinado sugar or coarse sanding sugar, for sprinkling
Apple Filling
1,250g prepared apples (about 7 to 8 medium apples)
800g Honeycrisp apples
450g Granny Smith apples
120g granulated sugar (⅔ cup)
55g packed light brown sugar (¼ cup)
2 teaspoons ground cinnamon
¼ teaspoon ground nutmeg
¼ teaspoon ground allspice
¼ teaspoon ground cardamom (optional, but recommended)
½ teaspoon kosher salt
2 tablespoons fresh lemon juice (about 1 medium lemon)
1 teaspoon vanilla extract
1 teaspoon vanilla paste
30g cornstarch (¼ cup)
2 tablespoons cold water
2 tablespoons unsalted butter, cut into small cubes
Instructions
1. Prepare the Crust
Prepare one double-crust 9-inch pie crust. I recommend my Signature 3:2:1 Butter-Lard Pie Crust, but my All-Butter Pie Crust is an excellent alternative. Follow the accompanying instructions to prepare the dough.
Roll out the bottom crust and fit it into a 9-inch pie plate. Refrigerate while preparing the apple filling.
2. Prepare the Apples
Peel and core the apples, then slice them into approximately quarter-inch wedges. A 10-blade apple slicer makes this quick and produces a nearly ideal thickness, but any method that produces ¼-inch slices works well.
Leave the Honeycrisp slices intact. Cut the Granny Smith slices in half to create smaller pieces. The combination of larger Honeycrisp wedges and smaller Granny Smith pieces helps the apples settle naturally as they bake.
Place the prepared apples in a large mixing bowl. Add the granulated sugar, brown sugar, cinnamon, nutmeg, allspice, cardamom, kosher salt, lemon juice, and vanilla, then toss until every slice is evenly coated.
Cover the bowl and let the apples rest for 30 to 45 minutes while the pie crust chills in the refrigerator. During this time they'll release a surprising amount of flavorful apple juice while still remaining crisp.
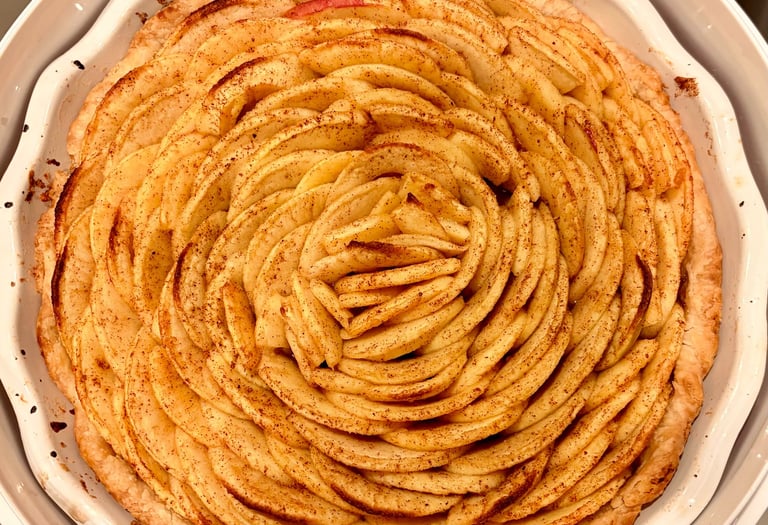
Man-Made Tip: A 10-blade apple slicer produces wedges that are just about perfect for a classic apple pie. Twelve- and sixteen-blade cutters, along with spiral apple slicers, create slices that are thinner than I prefer. Save those for a Rose Apple Pie. Six- and eight-blade cutters produce wedges that are too large to bake evenly.
3. Reduce the Apple Juice
Place a large colander over a saucepan and drain the apples, reserving all of the juices.
Bring the juices to a gentle boil over medium heat and cook for 8 to 12 minutes, or until reduced by about half.
Whisk the cornstarch with 2 tablespoons of cold water until smooth. Slowly whisk the slurry into the reduced apple juices and cook for 1 to 2 minutes, until thickened into a glossy glaze.
Remove from the heat and allow the glaze to cool for several minutes.
4. Assemble the Pie
Arrange a base layer of apples in the prepared bottom crust, including a few of the smaller Granny Smith pieces to help fill gaps. Spoon about half of the reduced apple glaze over the apples.
Add the remaining Honeycrisp slices, gently jiggling the pie plate as you go to help them settle naturally and building the filling slightly higher in the center.
Reserve most of the smaller Granny Smith pieces for the top, arranging them over the Honeycrisp to fill gaps and create a smooth, evenly rounded mound.
Spoon the remaining apple glaze evenly over the top.
Don't worry if the apples rise above the rim of the pie plate. They'll settle into a beautifully full pie as they bake.
Dot the filling with the butter.
5. Add the Top Crust
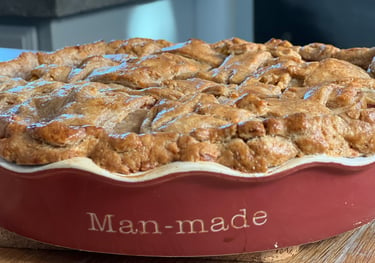
Roll out the top crust and place it over the pie. Trim the overhang to about 1 inch, tuck the edges underneath, and crimp.
Cut several steam vents in the center of the top crust.
Brush the entire pie with the egg wash. If egg wash pools around the crimped edge, gently blot away the excess with the corner of a paper towel. Sprinkle lightly with turbinado or coarse sugar, if using.
Refrigerate the assembled pie for 15 to 20 minutes.
Man-Made Tip: After chilling, give the crimp one final pass before baking. The cold dough holds decorative details better in the oven and helps create a flakier crust with cleaner edges.
6. Bake
While the pie chills, preheat the oven to 425°F (220°C) with a rimmed baking sheet on the center rack. A preheated baking sheet gives the bottom crust an immediate burst of heat, helping prevent a soggy bottom and encouraging a crisp, flaky crust.
Place the chilled pie directly onto the preheated baking sheet.
Bake at 425°F (220°C) for 20 minutes.
Without opening the oven, reduce the temperature to 375°F (190°C) and continue baking for 35 to 45 minutes, or until:
The crust is deep golden brown.
The filling is actively bubbling through the steam vents. The bubbling should be thick and slow, not thin and watery.
The apples are tender when pierced with a thin knife.
The center of the filling reaches 195 to 200°F.
If the crust reaches your desired color before the filling is fully cooked, loosely tent the entire pie with aluminum foil for the remainder of the bake.
7. Cool
Transfer the pie to a cooling rack and let it cool completely, at least 4 hours, or until the center reaches about 85°F.
This gives the apple glaze time to fully set, ensuring beautiful slices that hold together.
Notes
A blend of Granny Smith and Honeycrisp apples creates an excellent balance of tartness, sweetness, and texture.
Resting the apples before baking removes excess moisture while concentrating their flavor.
Reducing the natural juices creates a rich apple glaze without cooking the apples ahead of time.
Layering the glaze throughout the pie evenly distributes flavor and prevents dry pockets.
A full top crust with simple steam vents creates the most classic appearance and helps retain moisture.
Bake until the filling is visibly bubbling through the vents. That's how you know it's fully cooked.
Cooling completely is just as important as baking. Resist the temptation to slice too early.
Serving Suggestions
Serve at room temperature or slightly warm with:
Vanilla ice cream
Fresh whipped cream
Sharp cheddar cheese
A hot cup of coffee
FAQs
Why let the apples rest before baking?
The sugar draws excess moisture from the apples while the pie crust chills. Those juices still contain all of the sugar and spices, so don't waste them. Reducing them into a glaze concentrates the flavor and helps create a filling that slices cleanly.
Why use two different apple varieties?
Granny Smith apples provide structure and tartness, while Honeycrisp apples contribute sweetness and a juicy texture. Together they create a balanced filling.
Why don't you precook the apples?
I prefer to let the apples release their juices naturally instead of cooking the fruit first. Reducing only the juices concentrates the apple flavor while allowing the apples to bake inside the pie, where they retain a more traditional texture and shape.
Do I need a 10-blade apple slicer?
No. It's simply my favorite tool because it produces wedges that are about ¼ inch thick, which I think bake into the ideal texture for a classic apple pie.
Why chill the pie before baking?
Keeping the crust cold helps it bake up flakier, while the final chill preserves the decorative crimp and gives the pie cleaner, sharper edges.
Can I make this pie ahead of time?
Absolutely. Like many fruit pies, it's just as good, and often even better, the day after it's baked.


Award-winning pie recipes
Homemade Pie Crusts, Brownies, and Bold Desserts Built From Scratch.
A curated collection of recipes I actually make, trust, and come back to.
Built one pie at a time in Baltimore.
Good pies start with good crust. Everything else is just filling.
Michael@manmadepies.com
© 2025. All rights reserved.