All Butter Pie Crust
A rich, flaky all-butter pie crust with incredible flavor, crisp layers, and no lard required.
If rich buttery flavor is what you’re after, this all-butter pie crust delivers. Made with nothing but butter, flour, and ice-cold water (or vodka), it bakes into a crisp, golden crust with tender, flaky layers. It’s perfect for cream pies, custard pies, rustic fruit galettes, and anyone who prefers baking without lard.
While my Signature Butter-Lard Pie Crust remains my go-to recipe for maximum flakiness and easy handling, this version is perfect for bakers who prefer an all-butter crust or simply don’t keep lard in the refrigerator. It’s simple, reliable, and packed with buttery flavor in every bite.
An all-butter crust delivers incredible flavor and beautiful browning, but it also requires a little more care. Butter contains water, which creates steam during baking. That extra steam can cause the crust to puff more, shrink more, and soften decorative crimps compared to my Signature Butter-Lard Pie Crust. Chilling the dough well and freezing the shaped crust before baking helps minimize these effects.
Man-Made Tip: Whenever possible, I measure ingredients in grams. It’s faster, more consistent, and eliminates the guesswork that comes with packed cups, heaping tablespoons, and uneven scoops. If you own a kitchen scale, now’s the time to use it.
Watch: Pie Crust in Under 4 Minutes.
Making homemade pie dough doesn’t have to be complicated. In this short video, I’ll show you how I cut fat into flour, add ice-cold water, and bring the dough together before refrigerating it. The whole process takes less than 10 minutes, and the video walks you through it in under four.
A Note About Flour
I use King Arthur All-Purpose Flour for my pie crusts, and I’ve also had good results with Costco’s Kirkland Signature All-Purpose Flour. Both produce dough that’s easy to handle and rolls out beautifully.
I’ve tried several times to make Gold Medal work, including adjusting the water and experimenting with the dough, but it consistently cracked and tore when I rolled it out.
That doesn’t mean you can’t make a good crust with Gold Medal. It just hasn’t worked as well for me. After plenty of testing, I’m sticking with King Arthur and Kirkland Signature.
All-Butter Pie Crust
Ingredients
Equipment
Instructions
- In a large mixing bowl, whisk together the flour, salt, and sugar (if using). Add the cold, cubed butter and toss to coat.
- Using a pastry cutter, sturdy fork, or your fingertips, work the cold butter into the flour until the mixture resembles coarse crumbs with pea-sized pieces of butter remaining. Those larger pieces of butter create flaky layers as they melt during baking.

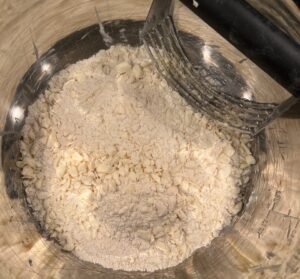
- Drizzle the ice-cold water over the flour mixture a little at a time, gently stirring with a fork after each addition.
- Stop adding liquid as soon as the dough begins to clump together when squeezed in your hand. It should look slightly shaggy rather than smooth.
- If the dough seems dry, add another teaspoon of liquid. If it becomes sticky, dust in a little more flour.
- Turn the dough onto a lightly floured surface and gently press it together into a disk. Avoid kneading the dough.
- Wrap tightly in plastic wrap and refrigerate for at least 1 hour (2 hours is even better), or up to 24 hours. Chilling allows the flour to fully hydrate while firming the butter, making the dough easier to roll and helping prevent shrinkage during baking.
- Lightly flour your work surface and rolling pin.
- If the dough has been refrigerated for 1 hour or longer, let it sit at room temperature for 15 to 20 minutes before rolling. The butter should still feel cold, but the dough will be more pliable and much less likely to crack.
- Starting in the center, roll outward in every direction, rotating the dough a quarter turn every few rolls to maintain a round shape.
- Continue until the dough is about ⅛ inch thick and roughly 11 to 12 inches in diameter for a standard 9-inch pie plate.
- Carefully roll the dough around the rolling pin and unroll it over the pie plate, or gently fold it into quarters before transferring.
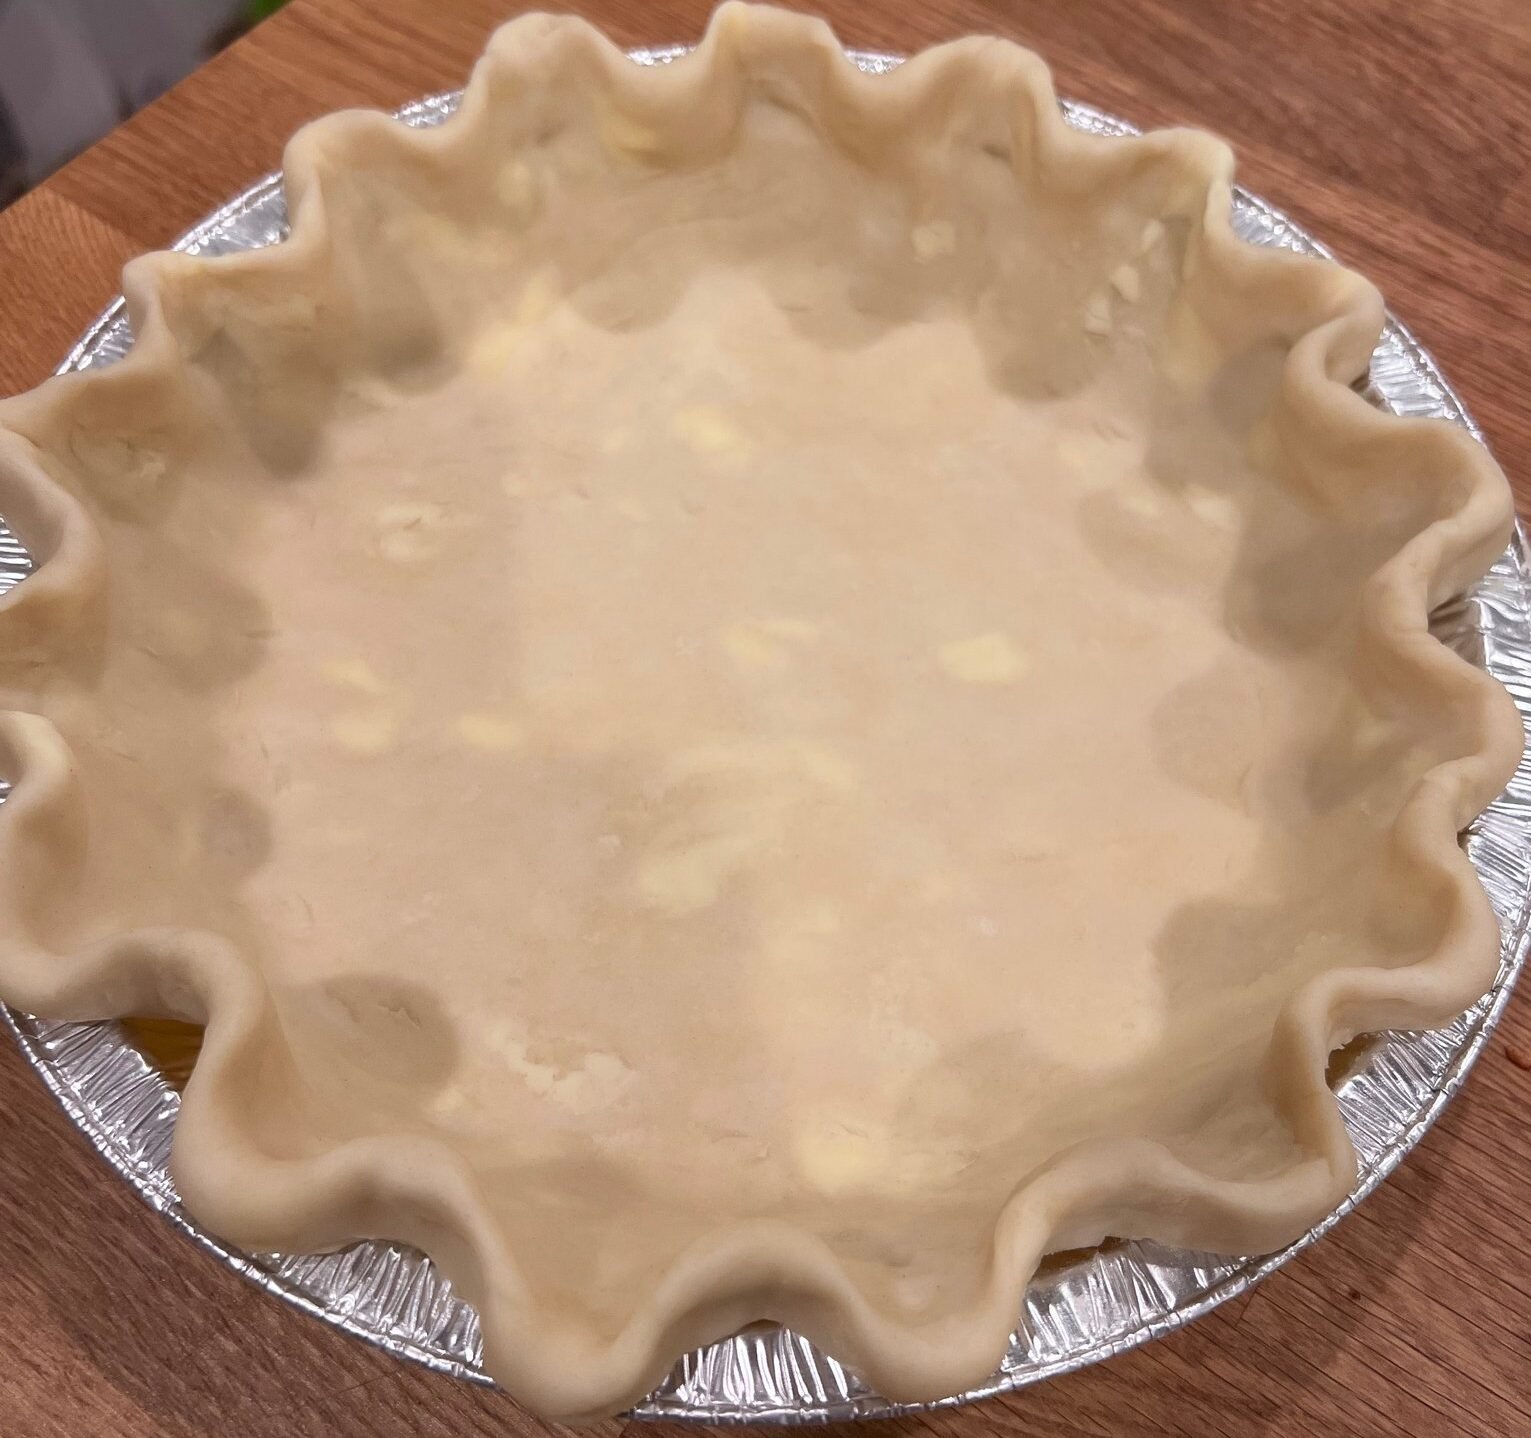
- Ease the dough into the bottom and sides without stretching it. Trim any excess, leaving about 1 inch of overhang, then fold the edge underneath itself and crimp as desired.
- If you’re making a double-crust pie, roll out the second batch of dough just as you did the first.
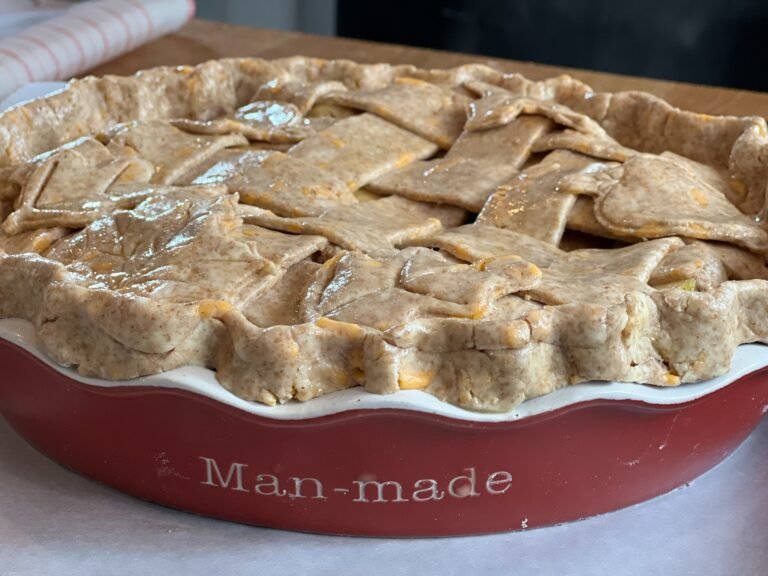
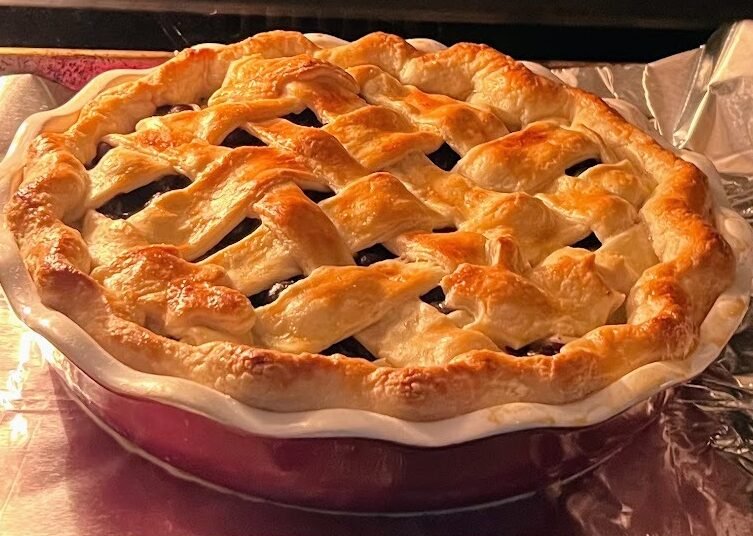
- Lattice Top: Roll the dough into a circle about 10 to 11 inches in diameter. Using a pizza cutter or sharp knife, cut ¾ to 1-inch strips and weave them over the filling to create a classic lattice. Trim the ends, fold them into the bottom crust, and crimp the edges together.
- Full Top Crust: For a traditional covered pie, lay the second crust over the filling, trim the overhang, fold the edges under, and crimp to seal. Cut several small slits in the center to allow steam to escape during baking.
- Once the dough is fitted into the pie plate, finish the edge using your favorite style.
- Classic Finger Crimp: Pinch the dough between your fingers to create evenly spaced fluted edges.
- Fork Crimp: Press the tines of a fork around the edge to create a simple decorative finish.
- Rope Crimp: Fold the overhang underneath itself and gently push the dough forward with your thumb to form a twisted rope.
- Rustic Edge: Fold the edge under without crimping for a more casual, homemade appearance.
- Decorative Cutouts: Use leftover dough to cut leaves, stars, or other shapes. Attach them with a little egg wash before baking.
Notes
Choosing Your Crust Quantity
- Single crust: Makes one 9-inch pie crust.
- Double crust: Makes two 9-inch crusts, enough for a top and bottom crust or two single-crust pies.
How Long Should You Chill Pie Dough?
- Good | 30 minutes: Enough to firm up the butter and make the dough easier to roll.
- Better | 1 hour: More time for the flour to hydrate and the gluten to relax, producing a more tender crust.
- Best | 2 hours: My recommendation. The dough is thoroughly chilled, easier to handle, and less likely to shrink during baking.
How to Blind Bake a Pie Crust
Blind baking gives your pie crust a head start before adding the filling. Whether you’re making a pecan pie that needs a partially baked crust or a cream pie that requires a fully baked shell, the process helps prevent soggy bottoms and keeps the crust flaky and crisp.
- Chill the Crust. For recipes that require a partially or fully baked crust, chill or freeze the shaped crust for 15 to 20 minutes before baking. A cold crust holds its shape better and helps prevent shrinking.
- Add Parchment and Pie Weights. Lightly crumple a sheet of parchment paper a few times before unfolding it. This softens the paper so it molds easily into the pie shell. Line the crust with parchment and fill completely with pie weights or dried beans.
- Start the Blind Bake. Preheat the oven to 375°F (190°C). Bake the weighted crust for 15 minutes. Carefully remove the parchment and pie weights, then continue with the appropriate method below.
Partial Blind Bake: For Pies That Will Continue Baking With the Filling
- While the crust is still hot, lightly prick the bottom with a fork to release any trapped steam and help keep it flat.
- Return the crust to the oven and bake for 5 to 8 minutes more, just until the bottom looks dry and set but has little or no color. The crust will finish baking once the filling is added.
Full Blind Bake: For Pies With Chilled or No-Bake Fillings
- While the crust is still hot, lightly prick the bottom with a fork to release trapped steam.
- Return the crust to the oven and bake for another 8–12 minutes, until the bottom is dry and golden.
- Remove the crust from the oven and immediately brush the bottom and sides with a thin layer of egg white. Return it to the oven for 1–2 minutes to set the egg white and create a moisture barrier.
- Let the crust cool completely before adding the filling. The egg-white barrier helps keep the crust crisp beneath creamy or custard fillings.
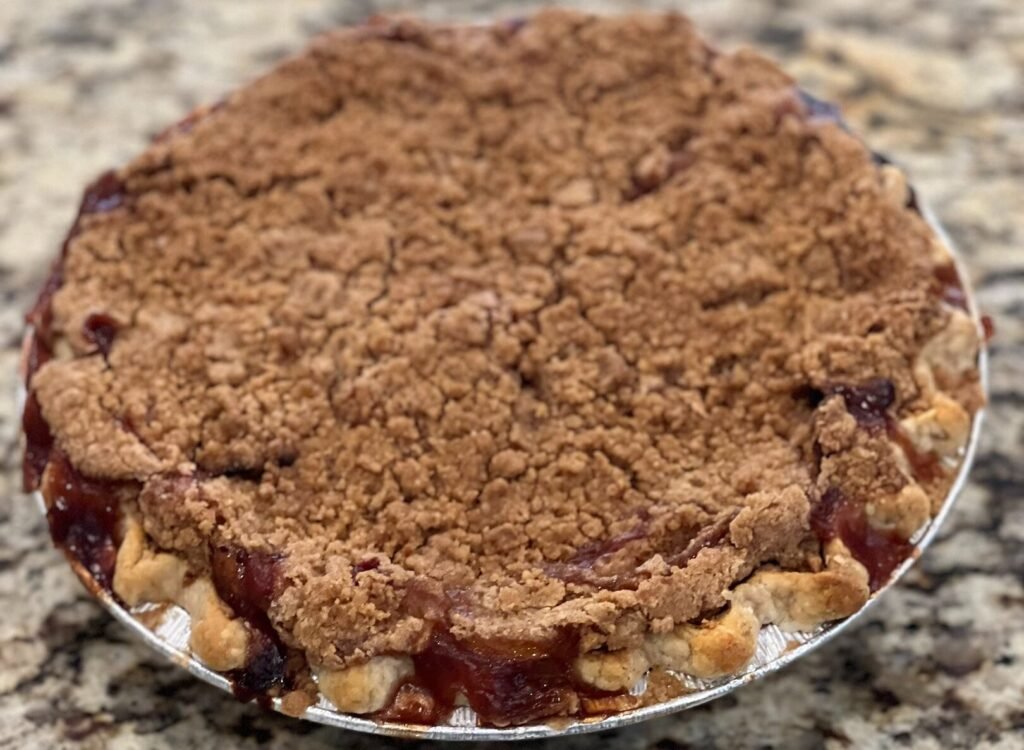
Use a partial blind bake for pies that call for a par-baked crust before the filling is added, such as:
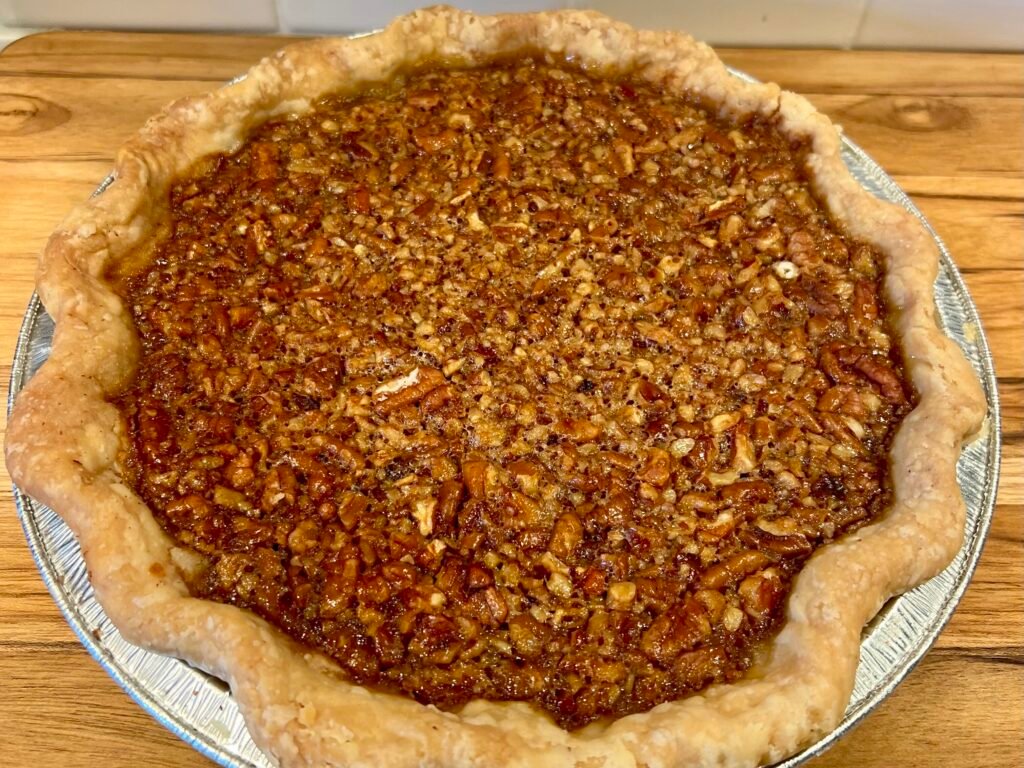
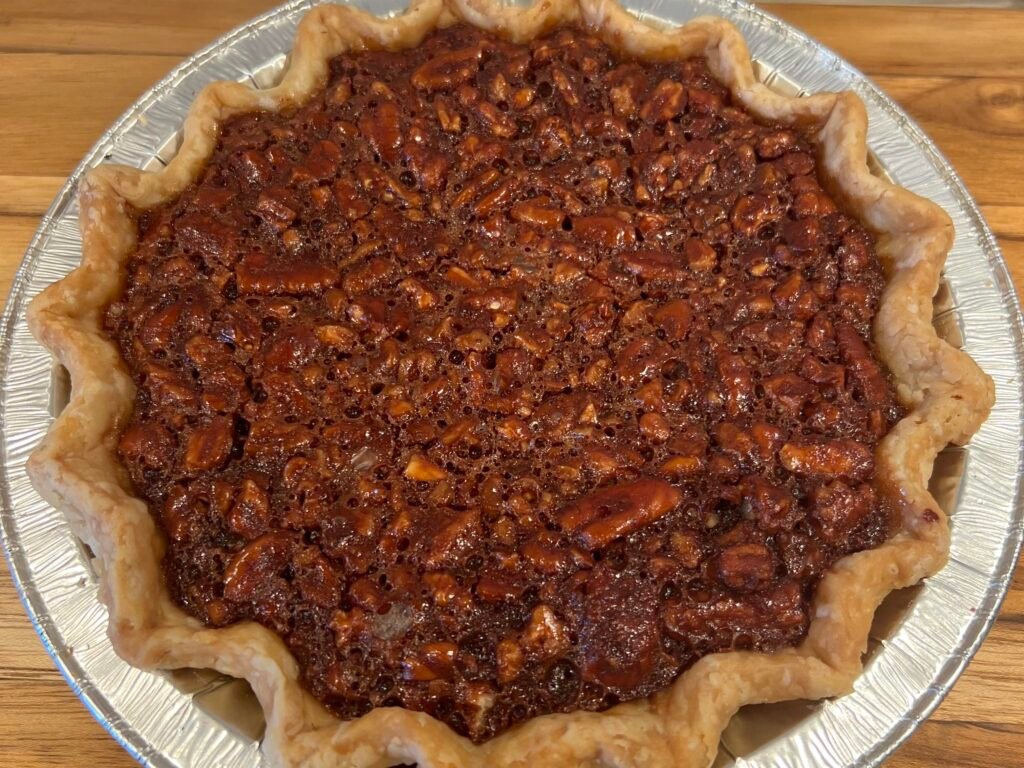
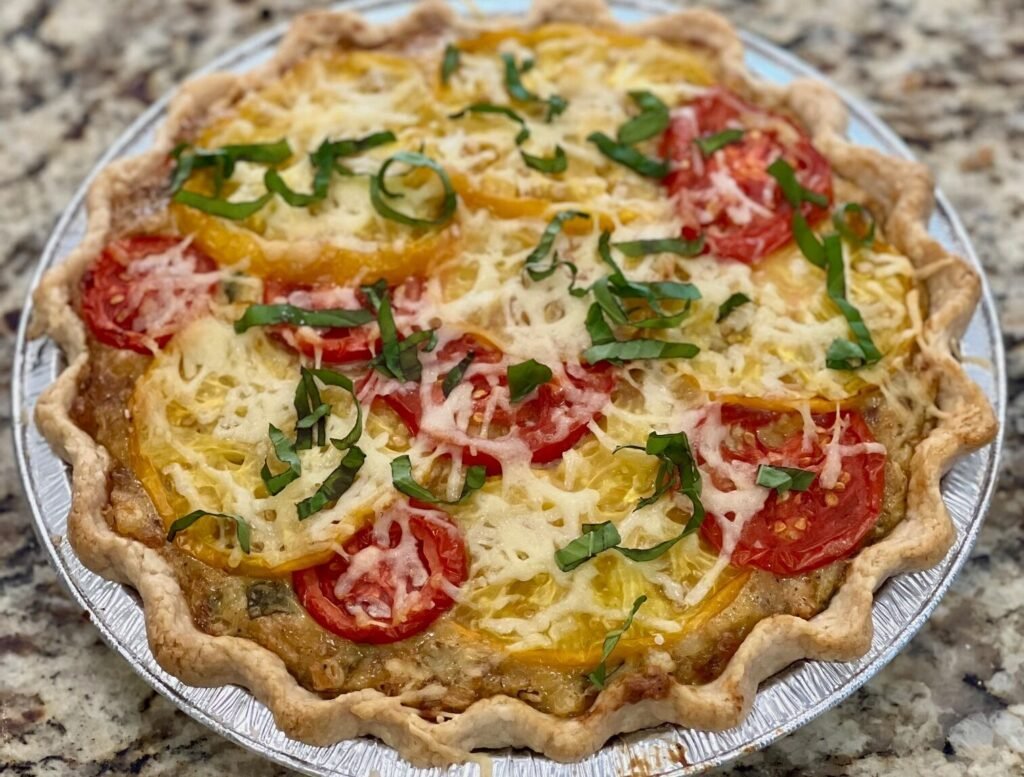
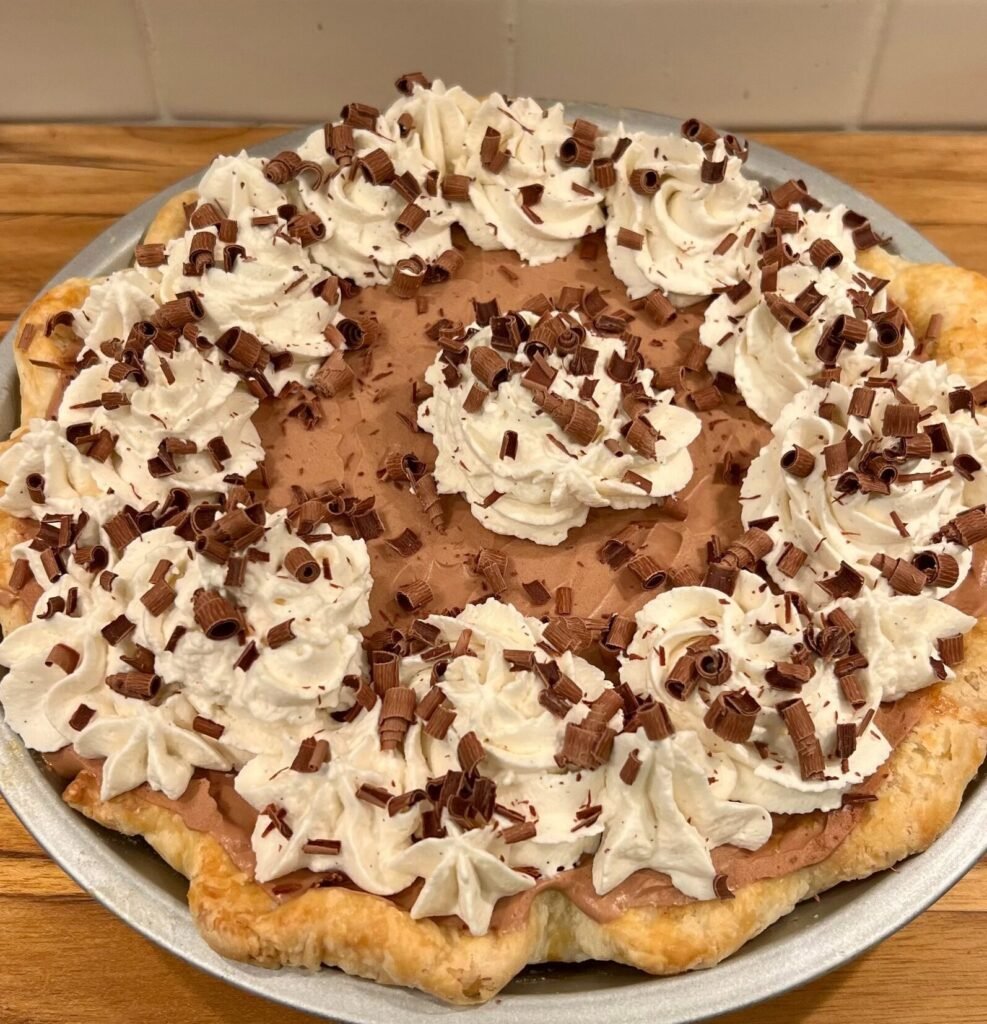
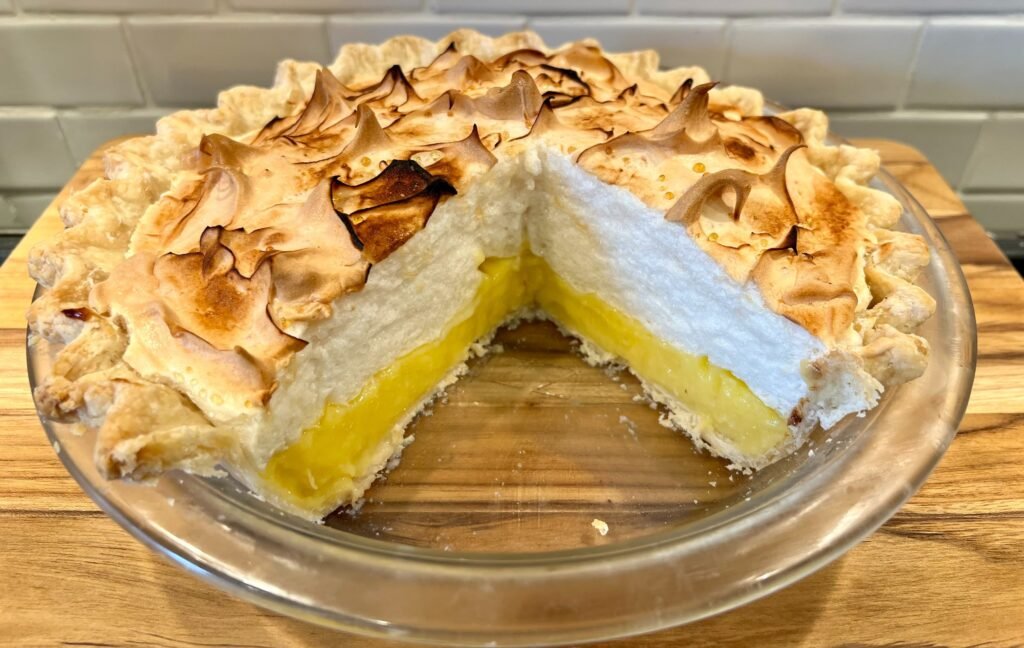
Use a full blind bake for any pie with a chilled or no-bake fill, such as:
Which Pie Crust Should You Make?
Both recipes use the same basic techniques and gram measurements. The choice comes down to the rich flavor and browning of an all-butter crust versus the greater flakiness, easier handling, and reduced shrinking of the butter-lard crust.
All-Butter Pie Crust: Rich buttery flavor, Crisp texture, No lard
Signature Butter-Lard Pie Crust: Maximum flakiness, Easier handling, Less shrinking
Why Butter Matters
Not all butter behaves exactly the same in pie dough. Butter contributes more than flavor. Different butters contain different amounts of butterfat and water, which can slightly affect how pie dough handles and bakes.
Conventional Butter
The butter I recommend for most home bakers. It’s affordable, easy to find, and produces consistent results. If you’re making your first pie crust, this is where I’d start.
Irish/ European-Style Butter
European-style butters, including Irish butter like Kerrygold, generally contain around 82% butterfat compared with about 80% for most American butter. The higher butterfat and lower water content can produce a richer flavor and beautifully tender crust, though the dough may feel slightly softer while you’re working with it. Keep it cold and it performs beautifully.
Amish Butter
Amish-style butter typically contains a higher butterfat percentage than conventional American butter, giving pie crust a richer flavor and slightly more tender texture. Because butterfat can vary between brands, results may differ a bit, but it’s an excellent choice for special occasion pies.
My Butter Recommendation
If you’re just getting started, buy a quality unsalted butter from your local grocery store and focus on technique. Once you’ve mastered the basics, try Irish or Amish butter to see if you notice the difference. Good butter can elevate a pie crust, but cold ingredients and careful handling matter even more. If you’re making a special holiday pie or entering a baking competition, Irish or Amish butter can provide a subtle boost in flavor. They’re wonderful upgrades, but they won’t magically fix technique. Cold ingredients and gentle handling still matter far more than the brand of butter you buy.
Frequently Asked Questions
Not necessarily. All-butter crusts deliver outstanding flavor and beautiful browning, but they can be a little more delicate to work with. Butter-lard crusts are usually flakier, easier to roll, and more forgiving. Neither is objectively better. If maximum flavor is your priority, choose all butter. If maximum flakiness and easier handling matter more, choose the butter-lard crust.
Pie crust usually shrinks because the dough was stretched to fit the pie plate, overworked, or not chilled long enough before baking. Let the dough rest in the refrigerator after rolling it out, ease it into the pie plate without stretching, and chill it again before baking for the best results.
Unsalted butter gives you complete control over the amount of salt in your recipe and produces more consistent results between brands. It also lets the rich butter flavor shine through without becoming overly salty.
Yes. If you’re using salted butter, reduce the added kosher salt in the recipe by about half. Because salt levels vary between brands, the final flavor may be slightly different than when using unsalted butter.
For everyday baking, a quality unsalted grocery store butter is an excellent choice and is what I recommend for most home bakers. If you’re making a special holiday pie or entering a baking competition, Irish or Amish-style butter can provide a richer flavor and slightly more tender texture thanks to their higher butterfat content.
Just remember: cold ingredients, gentle handling, and a well-rested dough will have a much bigger impact on your pie crust than the butter brand you choose.