
Signature 9-Inch Butter-Lard Pie Crust
The flaky pie crust behind most of the recipes at Man-Made Pies.
This is the pie crust I come back to again and again. Built on a simple 3:2:1 ratio of flour, fat, and liquid, it combines butter for rich flavor with lard for exceptional flakiness. It's sturdy enough for juicy fruit pies, tender enough for delicate cream pies, and reliable enough to earn blue ribbons.
The 3:2:1 Formula:
3 Parts Flour provides the structure.
2 Parts Fat creates flaky, tender layers.
1 Part Ice-Cold Liquid brings the dough together while keeping the fat cold.
Once you understand this ratio, scaling pie dough up or down becomes simple, whether you're making one pie or preparing several at once.
Single-Crust Recipe (One 9-Inch Pie)
Makes one 9-inch single-crust pie. Perfect for cream pies, citrus pies, custard pies, and any recipe that doesn't require a top crust.
170g all-purpose flour
113g fat
56g unsalted butter (4 tbsp)
57g lard
57g ice-cold water or vodka
½ tsp kosher salt
1 tsp granulated sugar


Double-Crust Recipe (Two 9-Inch Crusts)
Makes enough dough for two 9-inch single-crust pies or one double-crust pie with a top crust or lattice.
340g all-purpose flour
226g fat
113g unsalted butter (1 stick)
113g lard
113g ice-cold water or vodka
1 tsp kosher salt
2 tsp granulated sugar
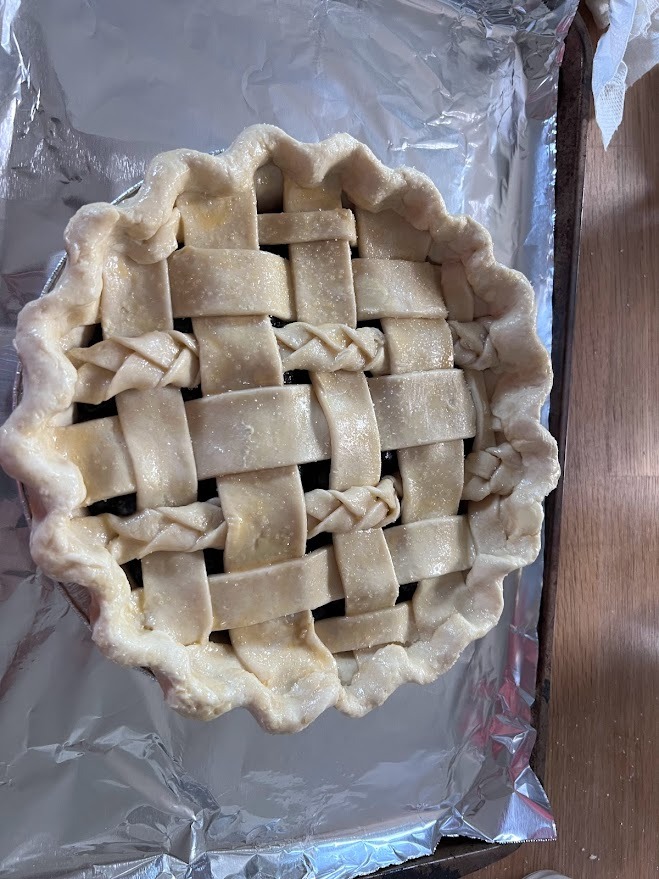
A double batch makes enough dough for two single-crust pies or one double-crust pie with a top crust. It's also the perfect amount for a lattice crust, decorative cutouts, or any pie with extra pastry details.
Use the second crust for:
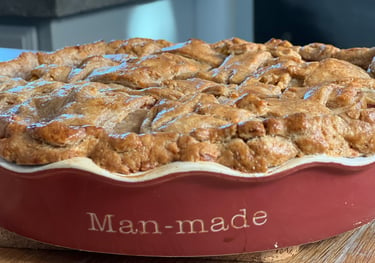
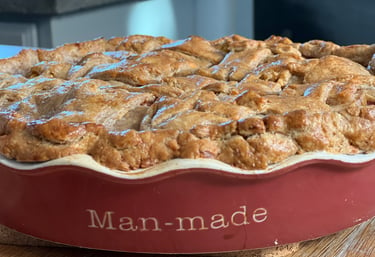
A full top crust for apple, cherry, blueberry, or other fruit pies.
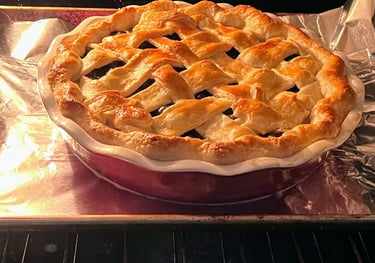
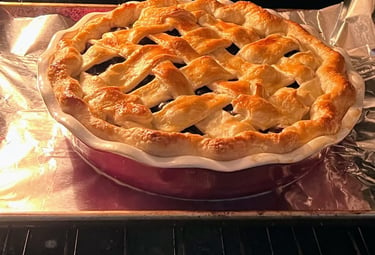
A lattice crust to showcase juicy fruit fillings while allowing steam to escape.
Decorative cutouts like leaves, stars, braids, or seasonal shapes.
Extra dough for thicker crimped edges or practice if you're new to rolling pie dough.
Pro Tip: If you're only making one single-crust pie, wrap the second disk tightly in plastic wrap and refrigerate it for up to 3 days or freeze it for up to 3 months. Thaw overnight in the refrigerator before using.
Tools You'll Need
Large mixing bowl
Pastry cutter or sturdy fork
Rolling pin
Kitchen scale (recommended)
Plastic wrap
9-inch pie plate
How to Make the Perfect Pie Crust
1. Cut in the Butter and Lard
In a large mixing bowl, whisk together the flour, salt, and sugar (if using). Add the cold, cubed butter and cold lard.
Using a pastry cutter, sturdy fork, or your fingertips, work the fat into the flour until the mixture resembles coarse crumbs with pea-sized pieces of butter and lard still visible. Those small pockets of fat create the flaky layers that make homemade pie crust so good.
Tip: Work quickly to keep the butter and lard cold. Warm fat creates a tougher, less flaky crust.
2. Add the Ice-Cold Liquid
Drizzle the ice-cold water or vodka over the flour mixture a little at a time, gently stirring with a fork after each addition.
Stop adding liquid as soon as the dough begins to clump together when squeezed in your hand. It should look slightly shaggy rather than smooth.
If the dough seems dry, add another teaspoon of liquid. If it becomes sticky, dust in a little more flour.
Tip: Less mixing means a more tender crust.
3. Rest the Dough
Turn the dough onto a lightly floured surface and gently press it together into a disk. Avoid kneading the dough.
Wrap tightly in plastic wrap and refrigerate for at least 30 minutes, or up to 24 hours.
Chilling allows the flour to fully hydrate while firming the butter and lard, making the dough much easier to roll and helping prevent shrinkage during baking.
4. Roll It Out
Lightly flour your work surface and rolling pin.
Starting in the center, roll the dough outward, rotating it a quarter turn every few rolls to maintain a round shape. Continue until the dough is about ⅛ inch thick and roughly 11 to 12 inches in diameter for a standard 9-inch pie plate.
If the dough becomes soft or sticky, refrigerate it for 10 to 15 minutes before continuing.
5. Fit the Pie Plate
Carefully roll the dough around the rolling pin and unroll it over the pie plate, or gently fold it into quarters before transferring.
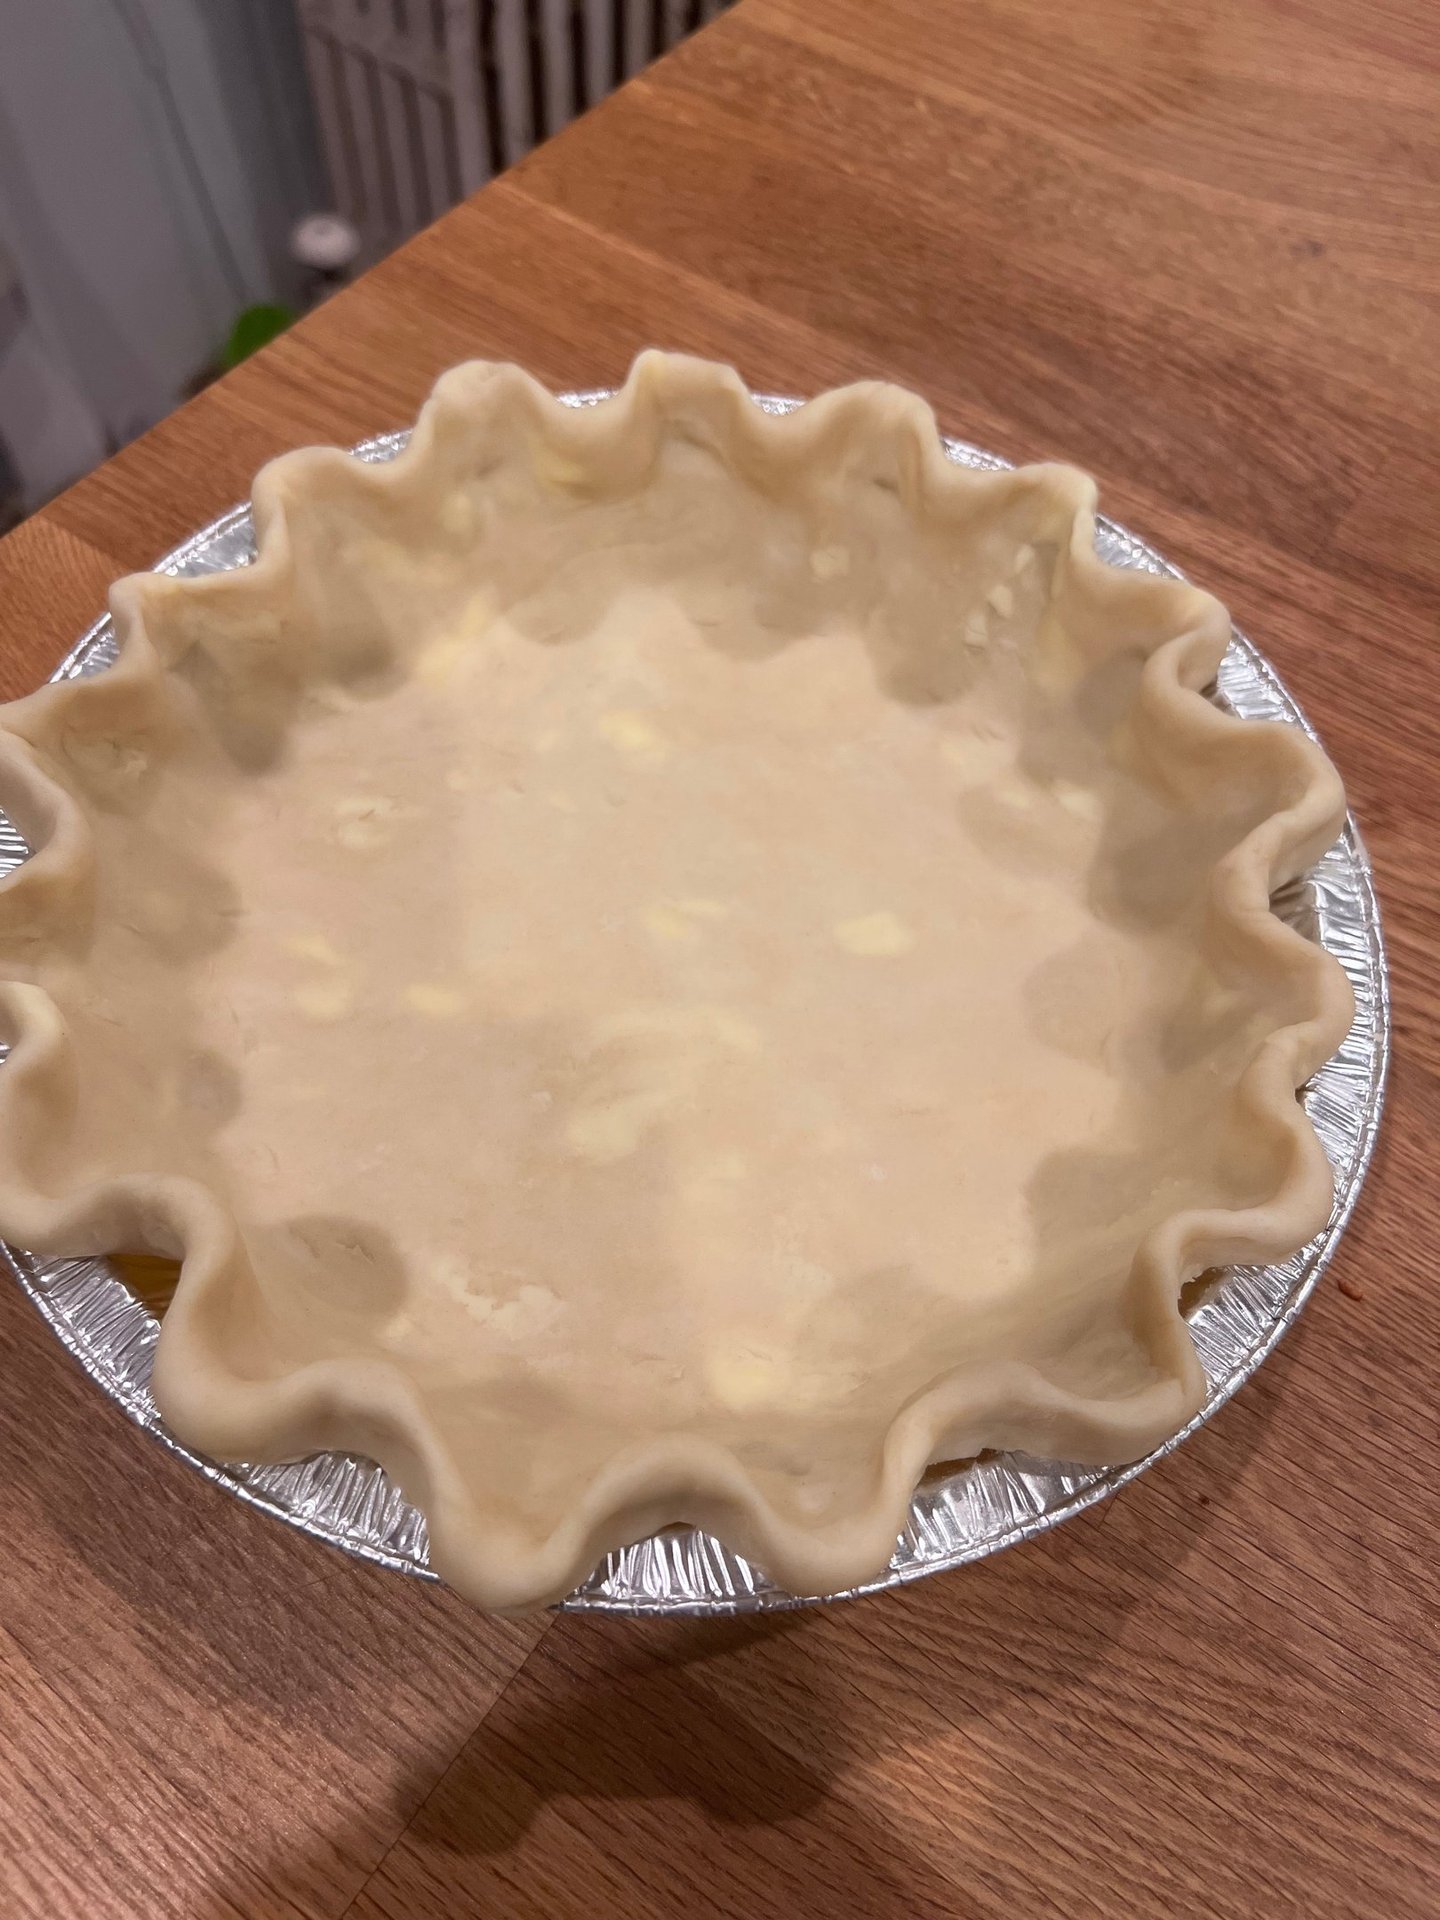
Ease the dough into the bottom and sides without stretching it. Trim any excess, leaving about 1 inch of overhang, then fold the edge underneath itself and crimp as desired.
If the recipe calls for it, prick the bottom lightly with a fork before chilling or baking.
Tip: Stretching the dough causes it to shrink during baking.
6. Crimp the Edges
Once the dough is fitted into the pie plate, it's time to finish the edge. A good crimp not only looks great, it helps support the crust during baking.
Here are a few easy options:
Classic Finger Crimp
Using the thumb and index finger of one hand and the knuckle or index finger of the other, pinch the dough together to create evenly spaced fluted edges. This is my go-to crimp for most pies.
Fork Crimp
Press the tines of a fork around the edge of the crust to seal it. It's quick, simple, and perfect for single-crust pies or rustic desserts.
Rope Crimp
Fold the overhang under itself, then use your thumb to gently push the dough forward in small sections to create a twisted rope appearance around the rim.
Rustic Edge
Leave the edge slightly uneven with a simple fold-over. Not every pie needs a fancy finish. Rustic can look just as inviting.
Decorative Cutouts
Use leftover dough to cut leaves, stars, or other shapes. Attach them with a little egg wash before baking for an eye-catching finish.
Tip: If the dough becomes soft while crimping, refrigerate the pie for 10 to 15 minutes before baking. Cold dough holds its shape much better.
7. Bake or Blind Bake
For recipes that require a pre-baked crust, chill the shaped crust for 15 to 20 minutes before baking.
Line the crust with parchment paper and fill with pie weights or dried beans. Bake at 375°F (190°C) for 15 minutes. Remove the weights and parchment, then bake for an additional 5 to 10 minutes, or until the bottom is lightly golden.
For pies that bake with the filling, simply add the filling to the prepared crust and bake according to your recipe instructions.
Why I Use Vodka
Vodka is optional, but it's one of my favorite pie crust tricks. Because alcohol evaporates during baking, it helps create a dough that's easier to roll and produces an exceptionally flaky crust without adding flavor. If you prefer, ice-cold water works beautifully too.
Put the Crusts to Work:
Single Batch
More From Man-Made Pies
Looking for your next bake? Start here.
Award-winning pie recipes
Homemade Pie Crusts, Brownies, and Bold Desserts Built From Scratch.
A curated collection of recipes I actually make, trust, and come back to.
Built one pie at a time in Baltimore.
Good pies start with good crust. Everything else is just filling.
Michael@manmadepies.com
© 2025. All rights reserved.