
6-Inch Signature Butter Lard Pie Crust
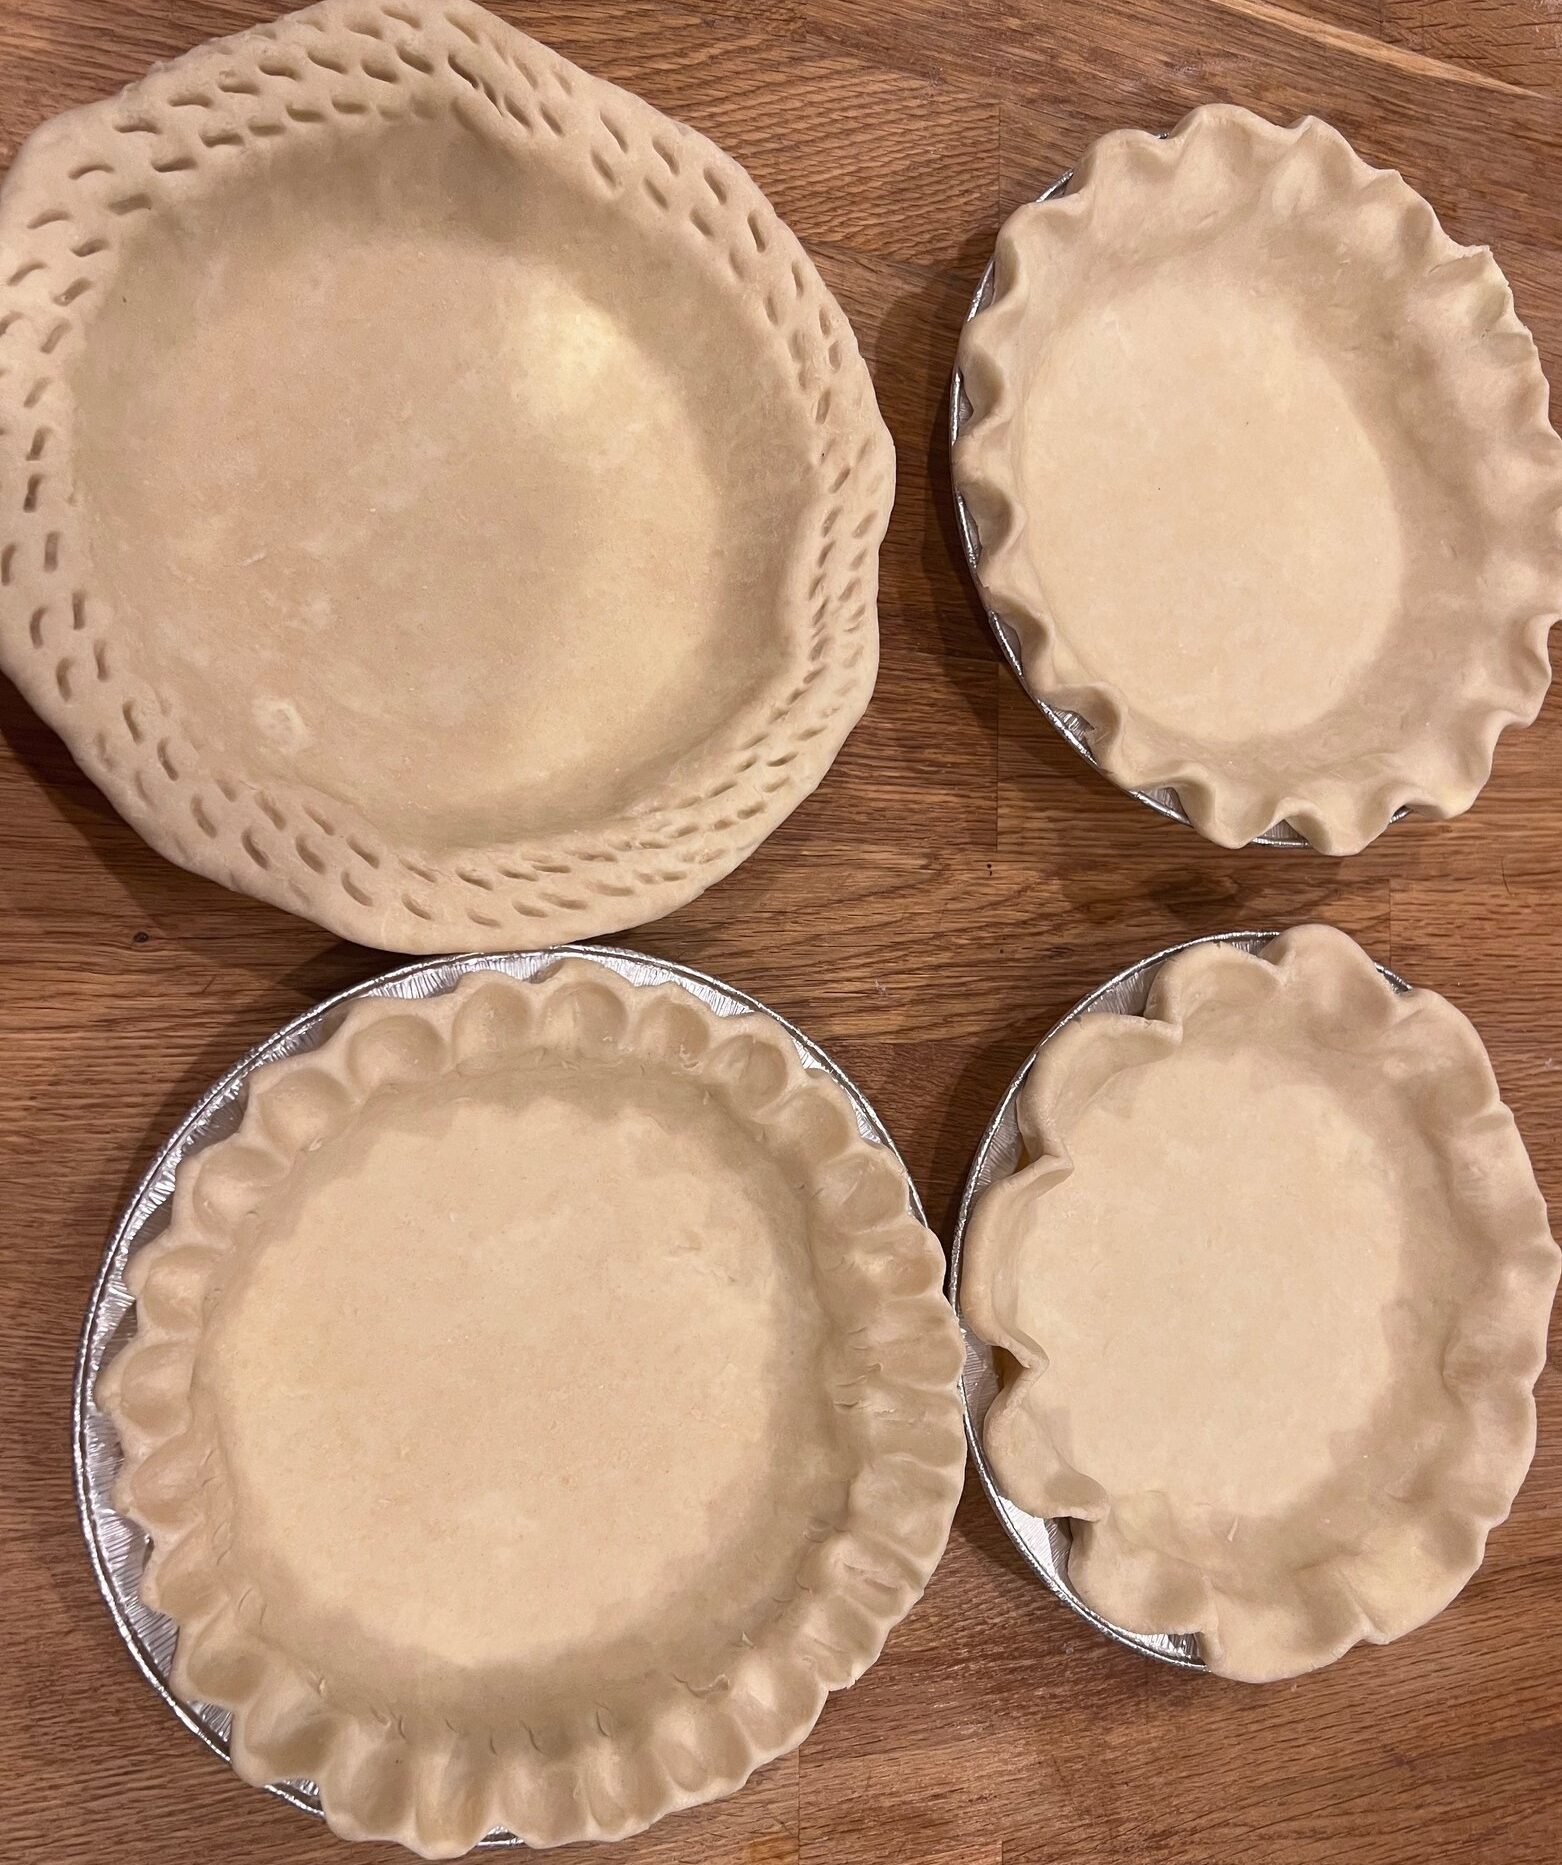
The perfect Date-Night pie crust for two
This 6-inch butter lard pie crust is the smaller version of the Signature Butter-Lard Pie Crust behind the recipes at Man-Made Pies. Built on the same simple 3:2:1 ratio of flour, fat, and liquid, it delivers the same flaky texture, rich buttery flavor, and reliable results as the 9-inch version, just in a size that’s perfect for date nights, small gatherings, and desserts without a week of leftovers.
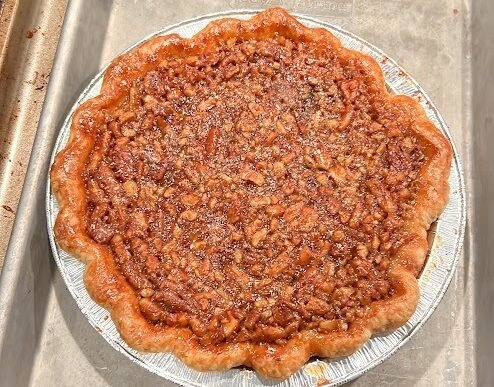
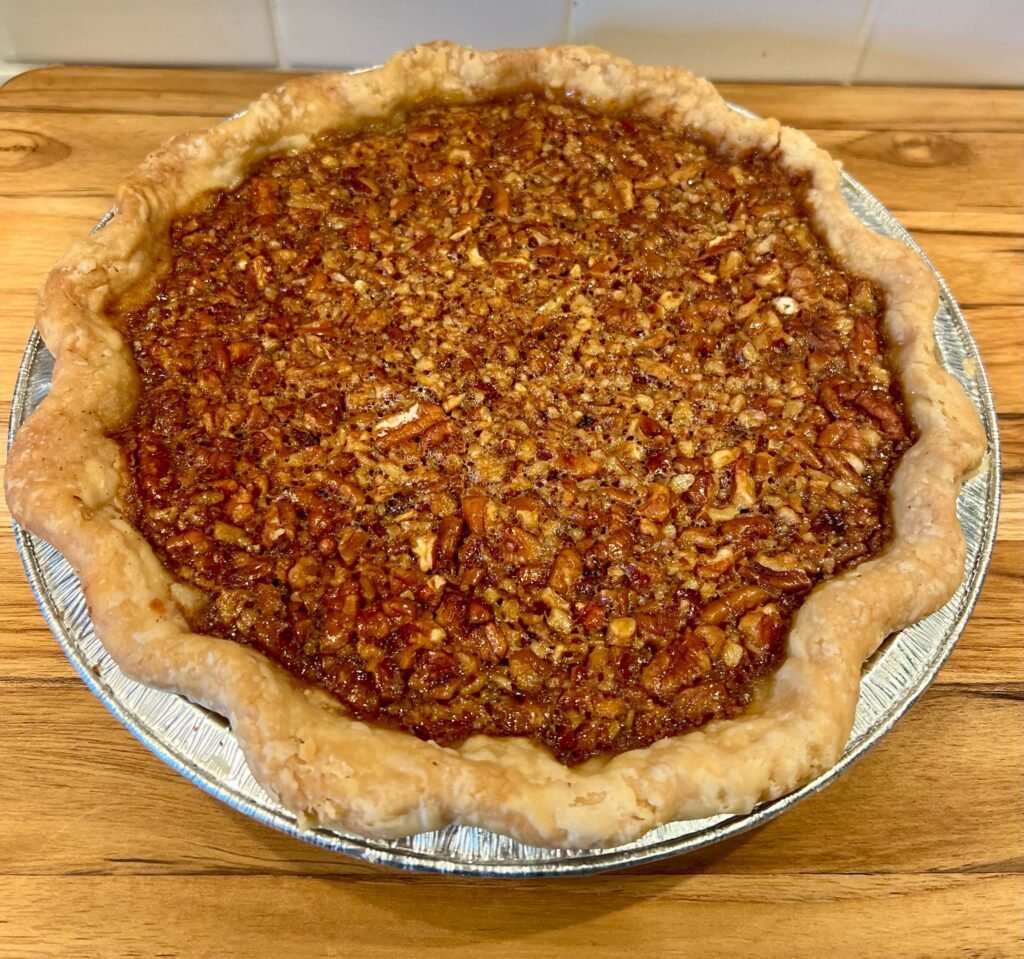
Whether you’re baking a 6-inch pecan pie, Kahlua Mocha Pudding Pie, key lime pie, or another dessert for two, this crust proves that great pie doesn’t have to be oversized.
The 3:2:1 Formula:
- 3 Parts Flour provides the structure.
- 2 Parts Fat creates flaky, tender layers.
- 1 Part Ice-Cold Liquid brings the dough together while keeping the fat cold.
Once you understand this ratio, scaling pie dough up or down becomes simple, whether you’re making one pie or preparing several at once.
Man-Made Tip: Whenever possible, I measure ingredients in grams. It’s faster, more consistent, and eliminates the guesswork that comes with packed cups, heaping tablespoons, and uneven scoops. If you own a kitchen scale, now’s the time to use it.
A Note About Flour
I use King Arthur All-Purpose Flour for my pie crusts, and I’ve also had good results with Costco’s Kirkland Signature All-Purpose Flour. Both produce dough that’s easy to handle and rolls out beautifully.
I’ve tried several times to make Gold Medal work, including adjusting the water and experimenting with the dough, but it consistently cracked and tore when I rolled it out.
That doesn’t mean you can’t make a good crust with Gold Medal. It just hasn’t worked as well for me. After plenty of testing, I’m sticking with King Arthur and Kirkland Signature.
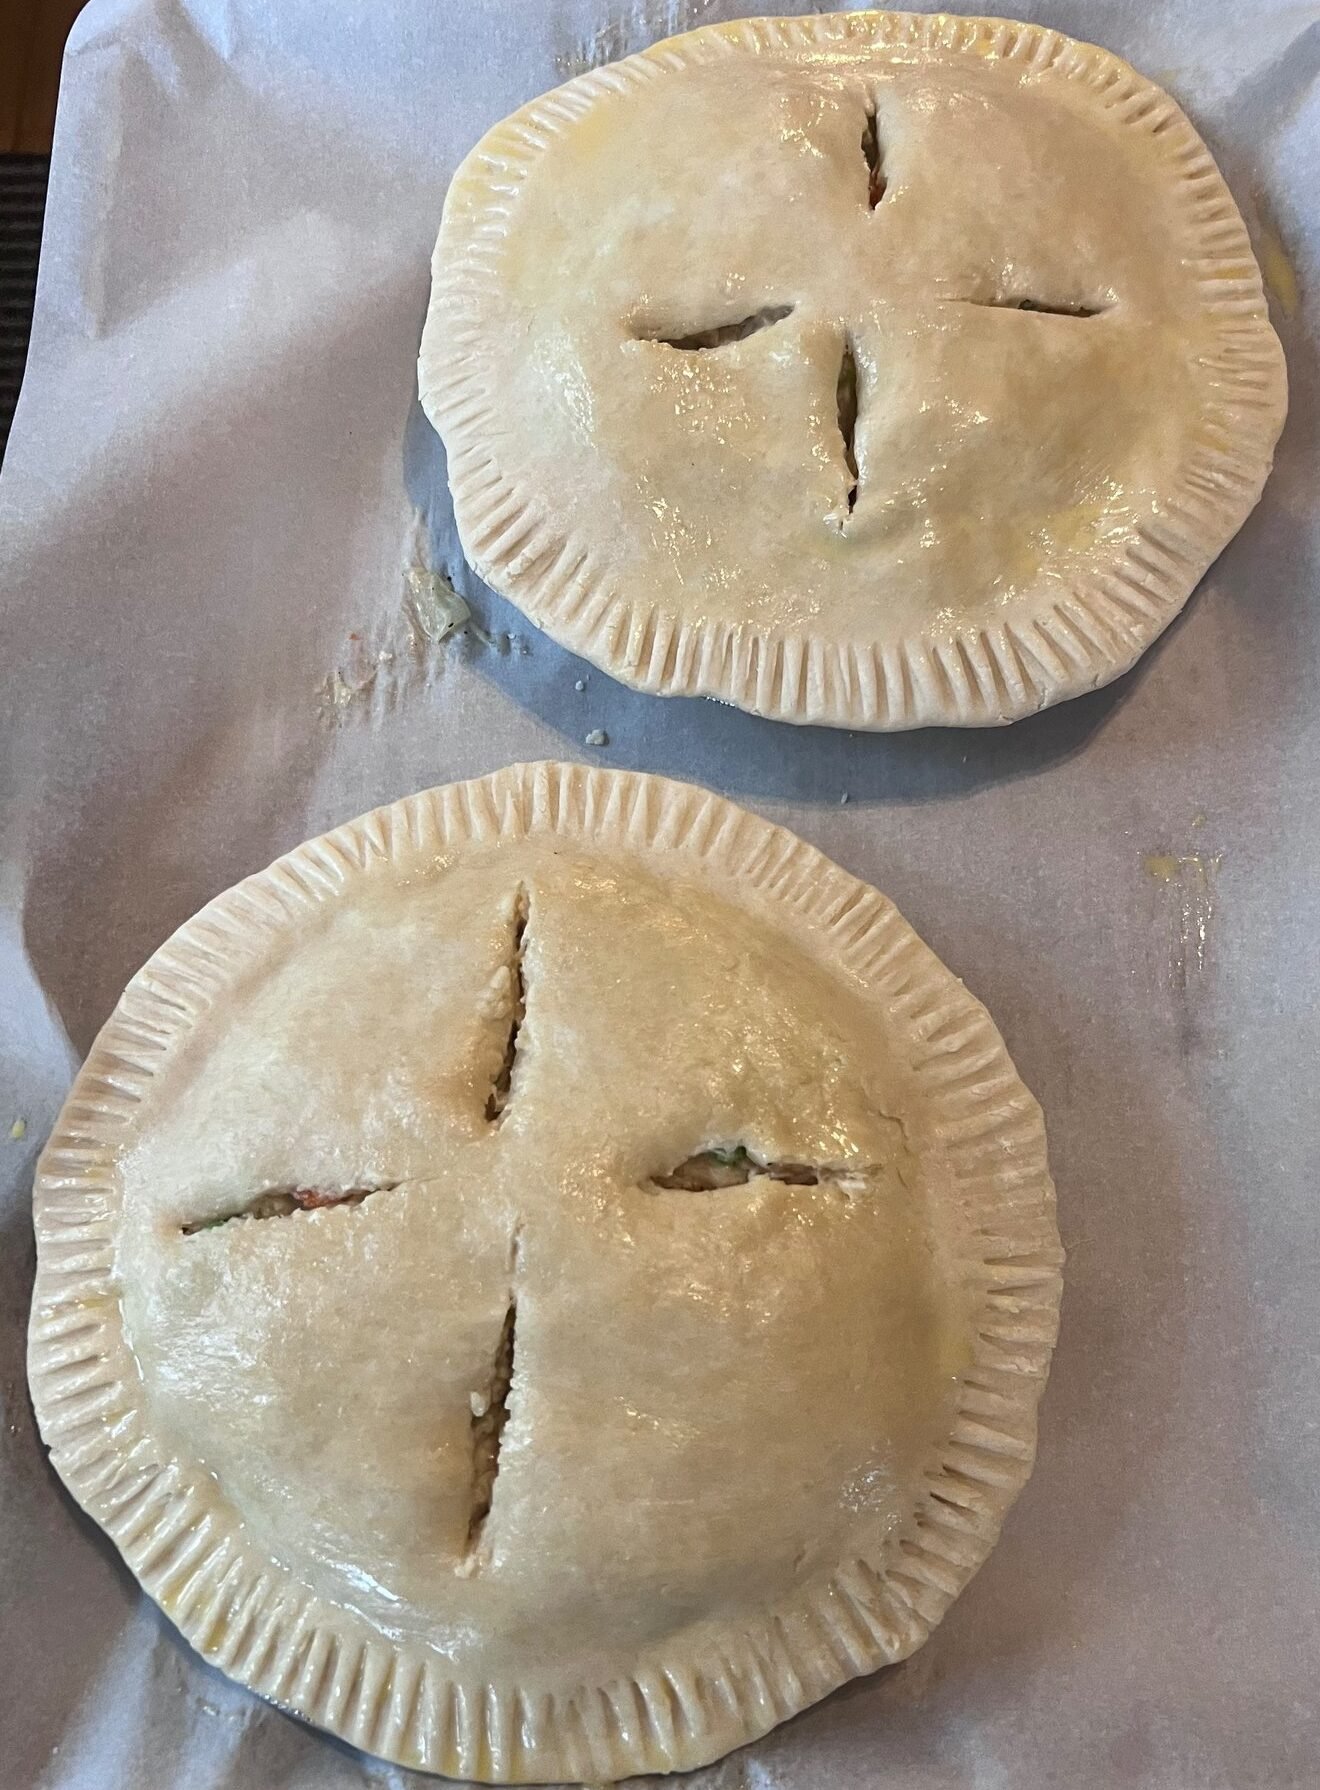
6-Inch Signature Butter-Lard Pie Crust
Ingredients
Equipment
Instructions
- In a large mixing bowl, whisk together the flour, salt, and sugar (if using). Add the cold, cubed butter and cold lard.
- Using a pastry cutter, sturdy fork, or your fingertips, work the fat into the flour until the mixture resembles coarse crumbs with pea-sized pieces of butter and lard still visible. Those small pockets of fat create the flaky layers that make homemade pie crust so good.
- Drizzle the ice-cold water over the flour mixture a little at a time, gently stirring with a fork after each addition.
- Stop adding liquid as soon as the dough begins to clump together when squeezed in your hand. It should look slightly shaggy rather than smooth.
- If the dough seems dry, add another teaspoon of liquid. If it becomes sticky, dust in a little more flour.
- Turn the dough onto a lightly floured surface and gently press it together into a disk. Avoid kneading the dough.
- Wrap tightly in plastic wrap and refrigerate for at least 1 hour, or up to 24 hours.
- Chilling allows the flour to fully hydrate while firming the butter and lard, making the dough much easier to roll and helping prevent shrinkage during baking.
- Lightly flour your work surface and rolling pin.
- Starting in the center, roll the dough outward, rotating it a quarter turn every few rolls to maintain a round shape. Continue until the dough is about ⅛ inch thick and roughly 8 inches in diameter for a standard 6-inch pie plate.
- If the dough becomes soft or sticky, refrigerate it for 10 to 15 minutes before continuing.
- Carefully roll the dough around the rolling pin and unroll it over the pie plate, or gently fold it into quarters before transferring.
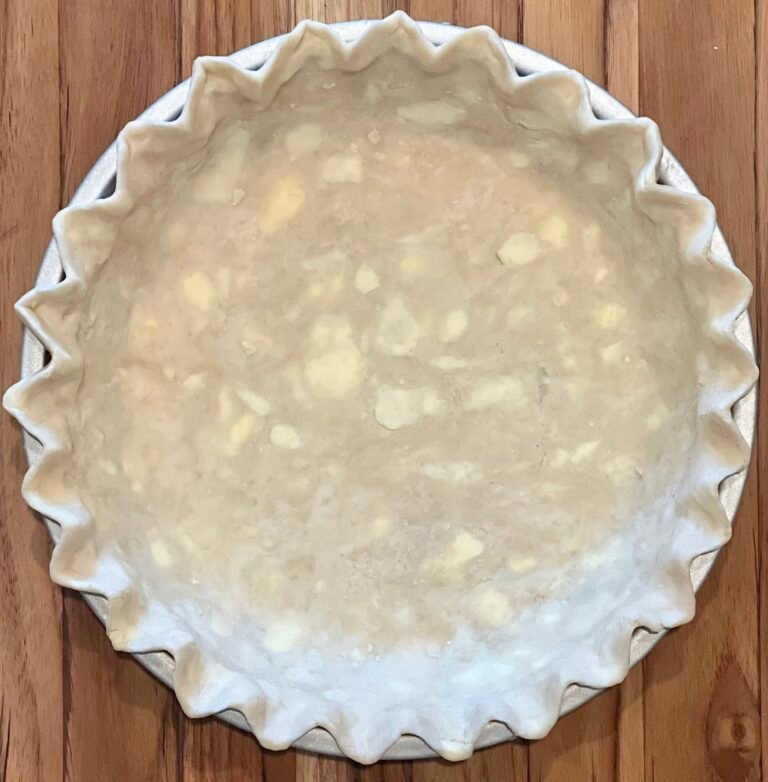
- Ease the dough into the bottom and sides without stretching it.
- Trim any excess, leaving about 1 inch of overhang, then fold the edge underneath itself and crimp as desired.
- If the recipe calls for it, prick the bottom lightly with a fork before chilling or baking.
- If you’re making a double-crust pie, roll out the second batch of dough just as you did the first.
- Lattice Top: Roll the dough into a circle approximately 8 inches in diameter. Using a pizza cutter or sharp knife, cut ¾ to 1-inch strips and weave them over the filling to create a classic lattice. Trim the ends, fold them into the bottom crust, and crimp the edges together.
- Full Top Crust: For a traditional covered pie, lay the second crust over the filling, trim the overhang, fold the edges under, and crimp to seal. Cut several small slits in the center to allow steam to escape during baking.
- Once the dough is fitted into the pie plate, finish the edge using your favorite style:
- Classic Finger Crimp: Pinch the dough between your fingers to create evenly spaced fluted edges.
- Fork Crimp: Press the tines of a fork around the edge to create a simple decorative finish.
- Rope Crimp: Fold the overhang underneath itself and gently push the dough forward with your thumb to form a twisted rope.
- Rustic Edge: Fold the edge under without crimping for a more casual, homemade appearance.
- Decorative Cutouts: Use leftover dough to cut leaves, stars, or other shapes. Attach them with a little egg wash before baking.
Notes
Choosing Your Crust Quantity
- Single crust: Makes one 6-inch pie crust.
- Double crust: Makes two 6-inch crusts, enough for a top and bottom crust or two single-crust pies.
How Long Should You Chill Pie Dough?
- Good | 30 minutes: Enough to firm up the butter and make the dough easier to roll.
- Better | 1 hour: More time for the flour to hydrate and the gluten to relax, producing a more tender crust.
- Best | 2 hours: My recommendation. The dough is thoroughly chilled, easier to handle, and less likely to shrink during baking.
How to Blind Bake a 6-Inch Pie Crust
Blind-baking means baking a pie crust before adding the filling. Some pies need a partially baked crust that finishes baking with the filling, while cream pies and other no-bake fillings need a fully baked crust.
Both methods begin the same way.
- Chill the crust. Refrigerate or freeze the shaped pie crust for 25–30 minutes before baking. A cold crust holds its shape better and helps prevent shrinking.
- Prepare the pie weights. Lightly crumple a sheet of parchment paper, then unfold it and press it gently into the pie shell. Fill completely with pie weights or dried beans, making sure they support the sides.
- Begin blind-baking. Bake at 375°F (190°C) for 12 minutes. Carefully remove the parchment and pie weights, then continue with the appropriate method below.
Par-Bake (Partial Blind Bake): For Pies That Continue Baking With the Filling
- While the crust is still hot, lightly prick the bottom with a fork to release trapped steam and help keep it flat.
- Return the crust to the oven and bake for another 5–8 minutes, until the bottom looks dry and set but has little or no color. The crust will finish baking after the filling is added.
Full Blind Bake: For Pies With Chilled or No-Bake Fillings
- While the crust is still hot, lightly prick the bottom with a fork to release trapped steam.
- Return the crust to the oven and bake for another 8–12 minutes, until the bottom is dry and golden.
- Remove the crust from the oven and immediately brush the bottom and sides with a thin layer of egg white. Return it to the oven for 1–2 minutes to set the egg white and create a moisture barrier.
- Let the crust cool completely before adding the filling. The egg-white barrier helps keep the crust crisp beneath creamy or custard fillings.
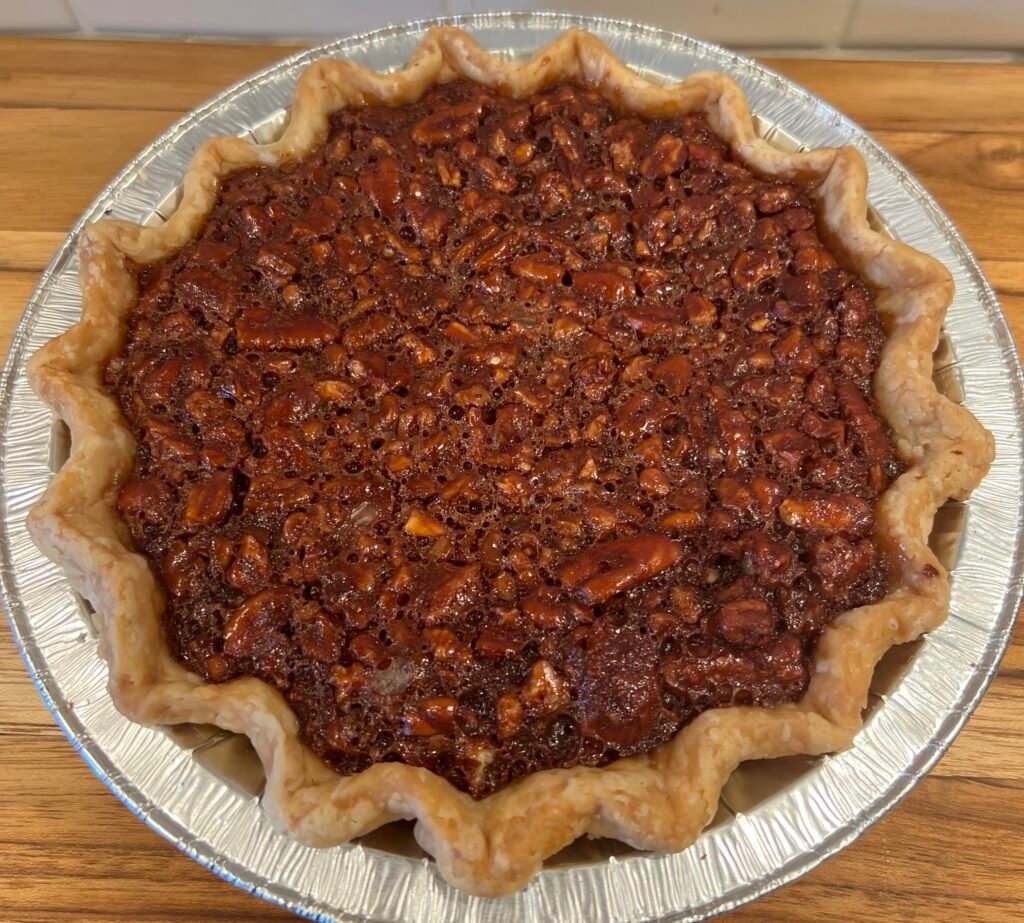
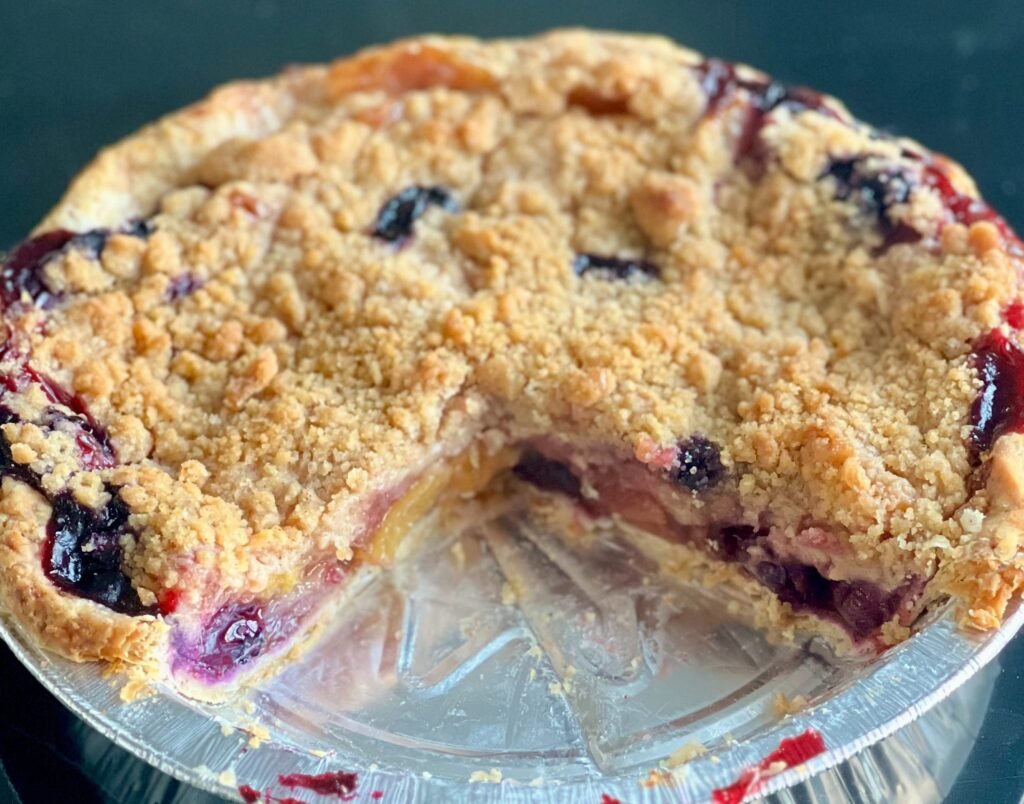
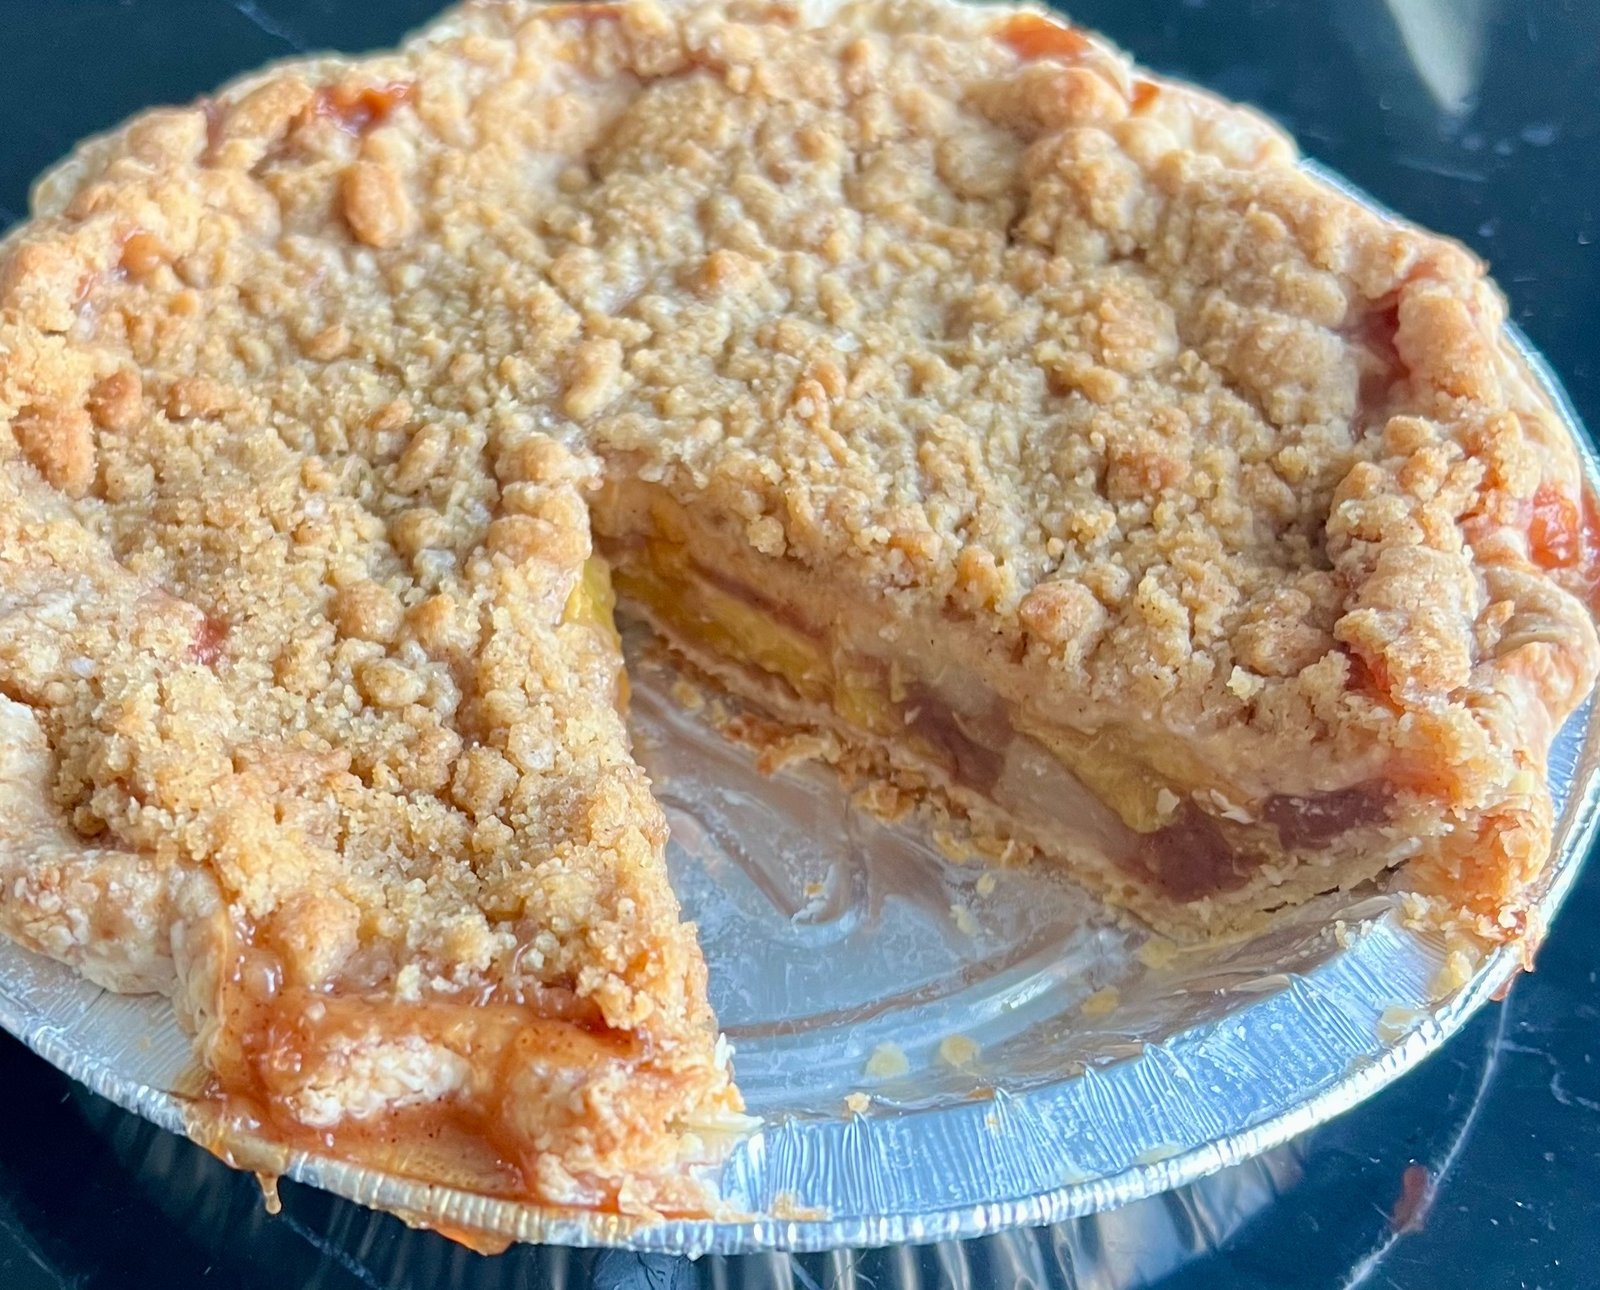
Great Recipes for this 6-Inch Crust
Frequently Asked Questions
Lard creates exceptionally tender, flaky pastry and makes the dough easier to handle. Because lard contains virtually no water, it produces less steam than butter during baking, helping the crust hold its shape and preserve decorative edges. I use equal amounts of butter and lard to get the best of both: rich buttery flavor and reliable flakiness.
Not when you’re using a good-quality, neutral-tasting lard. Properly rendered lard should have a mild flavor that doesn’t compete with your filling. Avoid strongly flavored lard, which can introduce savory notes you might not want in a sweet pie.
Usually, the dough is either too cold, too dry, or hasn’t rested long enough. If it’s been refrigerated for several hours, let it sit at room temperature for 10 to 20 minutes before rolling. If the edges still crumble, lightly moisten the cracks with ice-cold water and gently press them together. Don’t knead the dough to make it smooth.
Flakiness comes from small pieces of fat remaining in the dough. If you work the butter and lard completely into the flour, you’ll lose some of those flaky layers. Stop mixing while you can still see pea-sized pieces of fat, use ice-cold liquid, and handle the dough as little as possible.
Absolutely. Wrap the dough tightly in plastic wrap and refrigerate for up to 3 days or freeze for up to 3 months. For a double-crust batch, divide the dough into two disks before storing. Thaw frozen dough overnight in the refrigerator, then let it soften slightly before rolling.
A soggy bottom usually means the crust hasn’t baked long enough or the filling has introduced too much moisture. For custard pies, I recommend partially blind baking the crust before adding the filling. For cream pies with chilled fillings, fully blind bake the crust until it’s dry and golden. A thin coating of egg white can also help protect the crust from moisture.
Can’t wait to try this recipe and use it for a meat pie! Will report back with results 😋