Ingredients
Instructions
Prepare the Apples
- Use an apple peeler, corer, and slicer to peel, core, and spiral each apple. Once removed from the machine, the spiral naturally holds the shape of the apple.
- Stand each apple upright on a cutting board and slice straight down through the center from top to bottom. This creates two neat halves made up of thin, uniform slices that are perfect for arranging into the rose.
Season the Apples
- Place the apple slices into a large gallon-size zip-top bag. Add the brown sugar, granulated sugar, flour, cornstarch, cinnamon, nutmeg, salt, lemon juice, and vanilla extract. Seal the bag, leaving a little air inside, then gently turn and shake until every apple slice is evenly coated. Avoid vigorous shaking so the slices stay intact.
- Let the apples rest for about 10 minutes.
- Transfer the seasoned apples to a large bowl and gently drizzle the melted butter over the slices. Toss lightly with your hands until evenly coated.
Build the Rose
- Preheat the oven to 400°F (205°C).
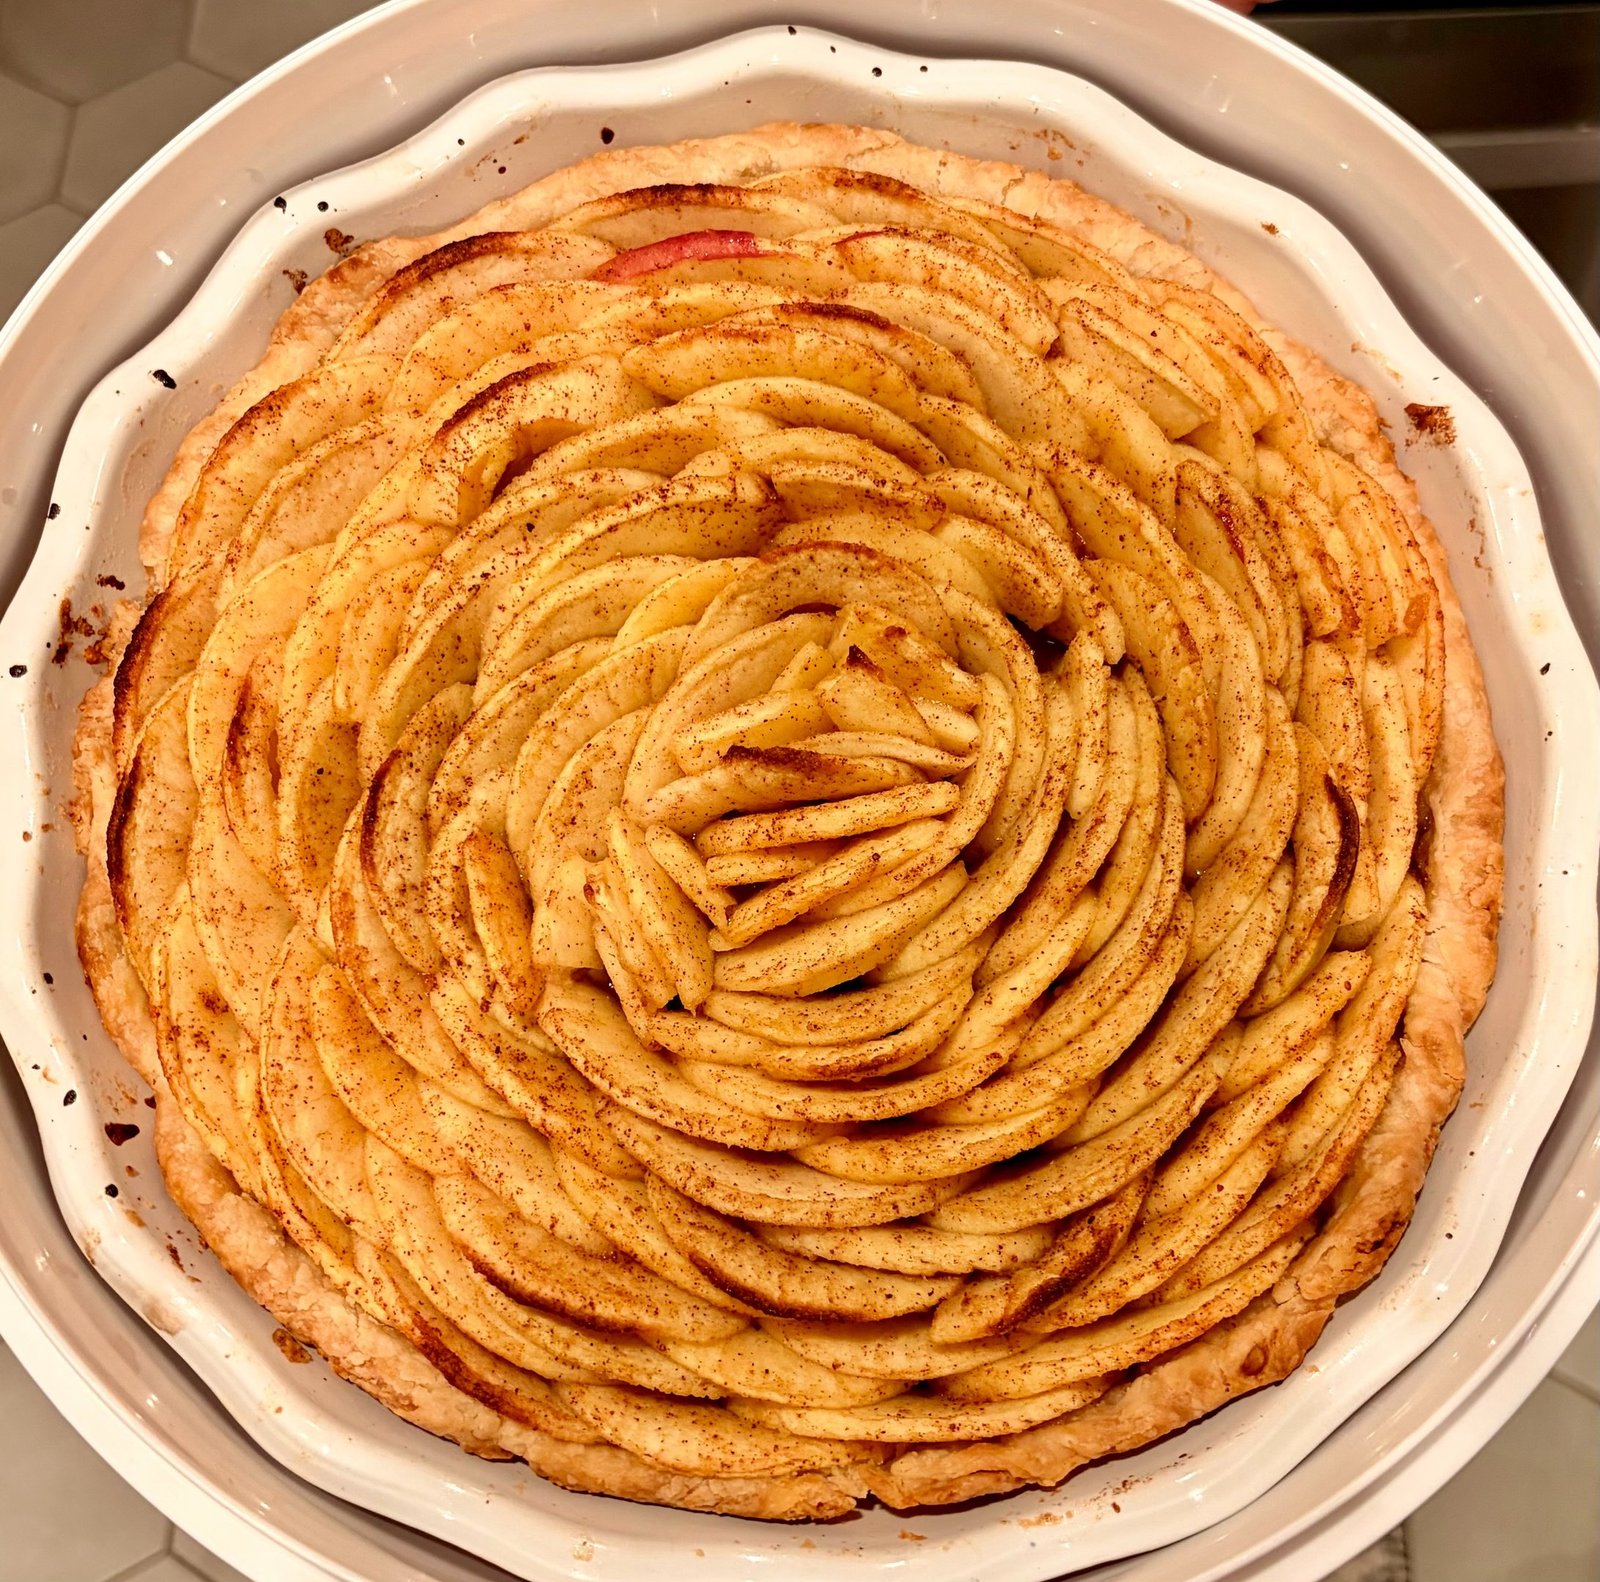
- Beginning around the outside edge of the prepared pie crust, overlap the apple slices by about half while keeping them standing upright.
- Continue arranging concentric circles toward the center of the pie.
- As the circles become smaller, tuck the remaining slices into place until the center resembles a rosebud.
- Don't worry if it isn't perfect. As the apples soften during baking, small gaps and imperfections naturally disappear.
- Pour any juices remaining in the bowl evenly over the apples before baking.
Bake
- Whisk together the egg and milk, then brush the egg wash over the exposed pie crust.
- Bake at 400°F for 20 minutes.
- Reduce the oven temperature to 350°F (175°C) and continue baking for 35–45 minutes, until the apples are tender, the filling is bubbling, and the crust is deep golden brown.
- If the crust browns too quickly, loosely cover the edges with foil.
Cool
- Allow the pie to cool for at least 2 hours before slicing.
- The filling continues to thicken as the pie cools, making cleaner slices.
Notes
Choosing Apples: Honeycrisp apples produce a naturally sweet pie. For more tartness and a balanced apple flavor, use equal parts Honeycrisp and Granny Smith.
Uniform Slices: An apple peeler, corer, and slicer makes assembly much easier. Thin, evenly cut slices bend naturally into the rose pattern and bake more consistently.
Glossy Finish: For a bakery-style shine, warm 2 tablespoons of apricot preserves or apple jelly with 1 teaspoon of water. Brush lightly over the apples while the pie is still warm.
Cooling and Storage: Allow the pie to cool for at least 2 hours before slicing. Refrigerate leftovers, covered, for up to 4 days.